
Incorporating 3d image effects adds a unique touch to your website. Who doesn’t like to play with moving and interactive websites?
Moving objects not only enhance the website’s look but also make it very appealing and fascinating for the viewer.
When we add a motion effect to an object like a picture, it becomes movable. It feels like the object is moving with the change of perspective.
There are some sections on our website where the visual plays an important role, like landing pages and product showcase sections, so adding motion effects to these places will make our site more versatile and dynamic.
Here in this tutorial, we will be creating motion effects on an image using the Elementor Pro Motion Effect feature.
Key Takeaways
- You can create interactive 3D image effects using Elementor Pro’s Motion Effects.
- Two main types: Mouse Track and 3D Tilt.
- Ideal for product pages, landing sections, and interactive design.
- No coding required—everything is built into the Elementor interface.
Before applying 3D transformations, it’s helpful to understand the fundamentals of Elementor Motion Effects, which add scroll-based or hover animations to any widget.
What Are 3D Image Effects in Elementor Pro?
Elementor Pro offers Motion Effects that bring static images to life. The two most commonly used interactive image animations are:
- Mouse Track: The image responds to the user’s mouse movement.
- 3D Tilt: The image tilts based on the viewer’s perspective, creating a dynamic 3D illusion.
These effects are ideal for: Interactive banners, Landing pages, Product showcases, or Creative portfolios
At the end of the article, we will be creating something like this:
Note: Before going further you need to ensure that you have installed and activated the Elementor Pro plugin.
How To Create 3D Image Effects in Elementor Pro
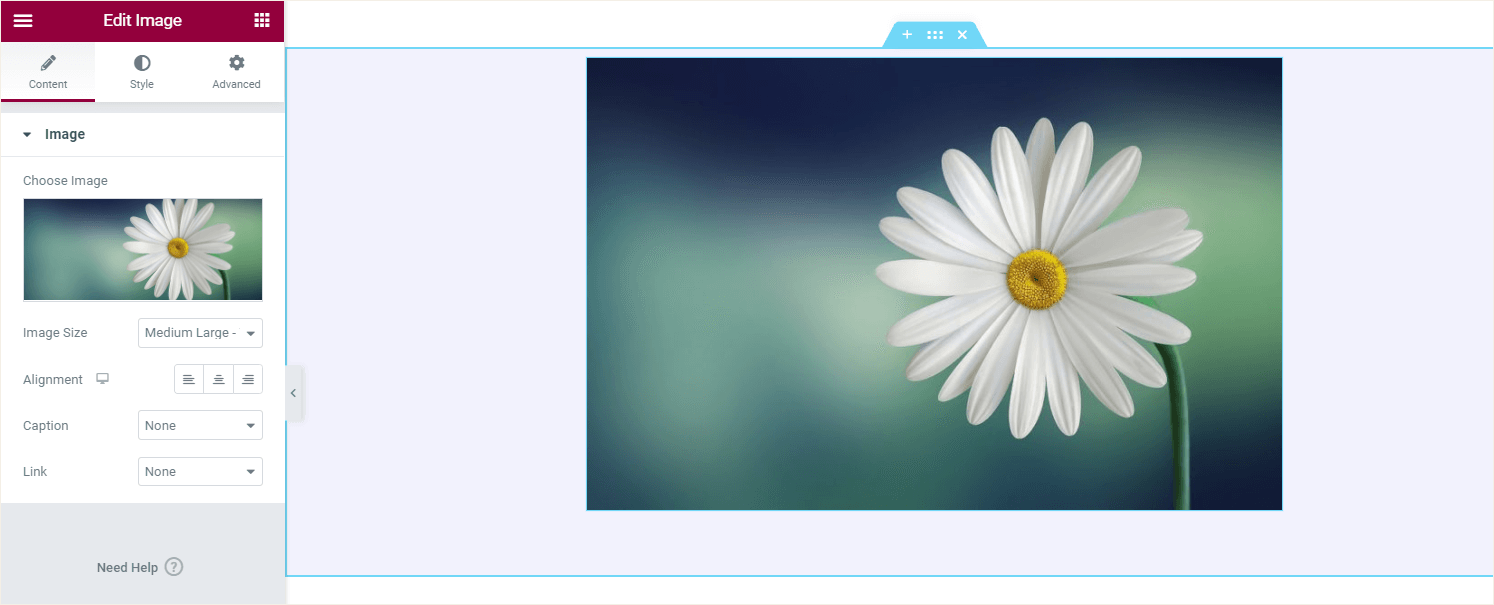
Step 1: Add the Image Widget
- Create a page or a template where you want to add effects.
- To begin with, we will start by adding a container in the Elementor editor, then choose the desired column structure.
- Next, drag the Image widget from the widget panel and place it onto the container.
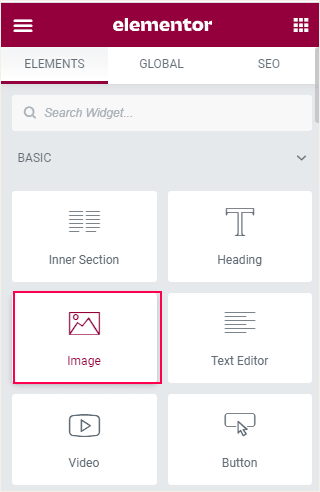
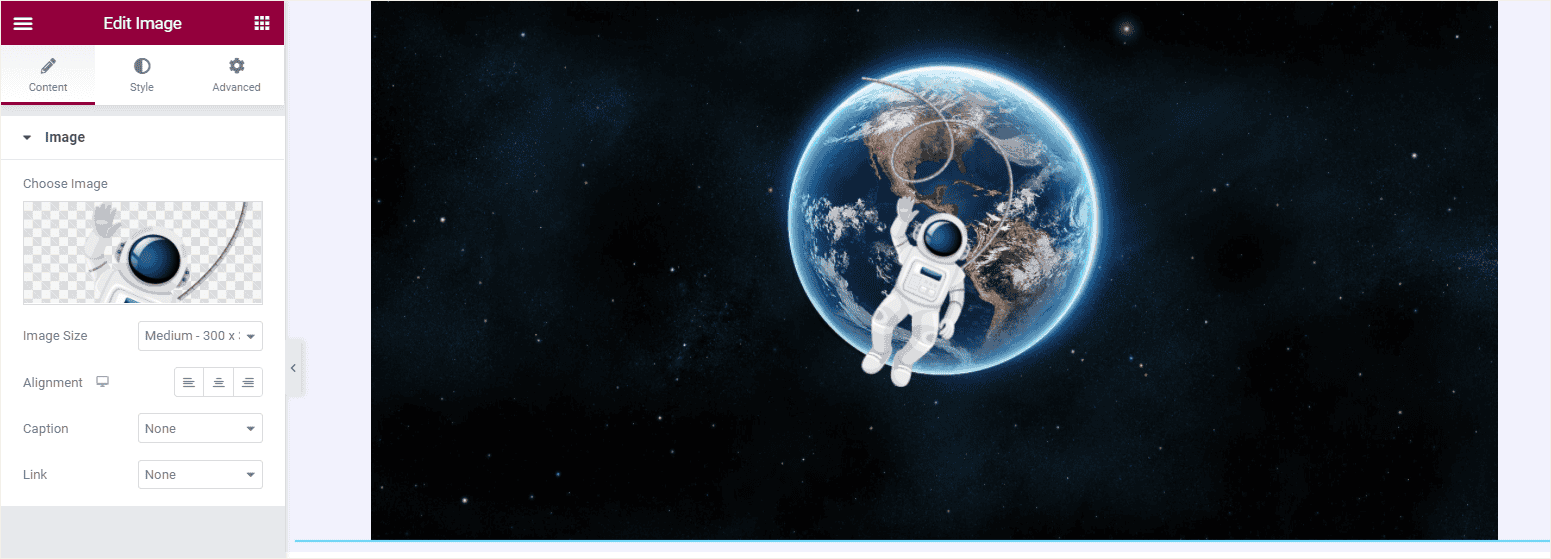
- Next, choose your desired image, set the appropriate image size, and alignment.
Step 2: Apply Mouse Track Effect
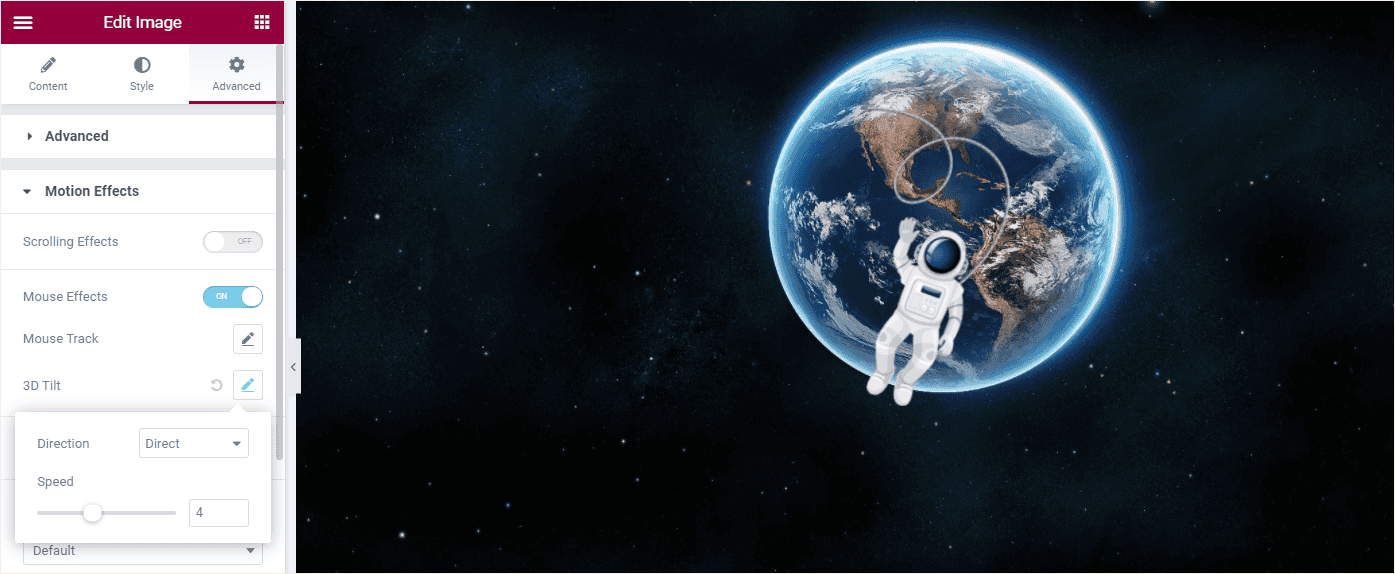
- After that, go to the Advanced Tab of the Image widget. Then select the Motion effects section.
- Then, enable the Mouse effect option, and you can set the animation on the Mouse Track. Set the direction to Direct or Opposite and adjust your desired Speed.
All done, we will end up with this amazing animation effect.
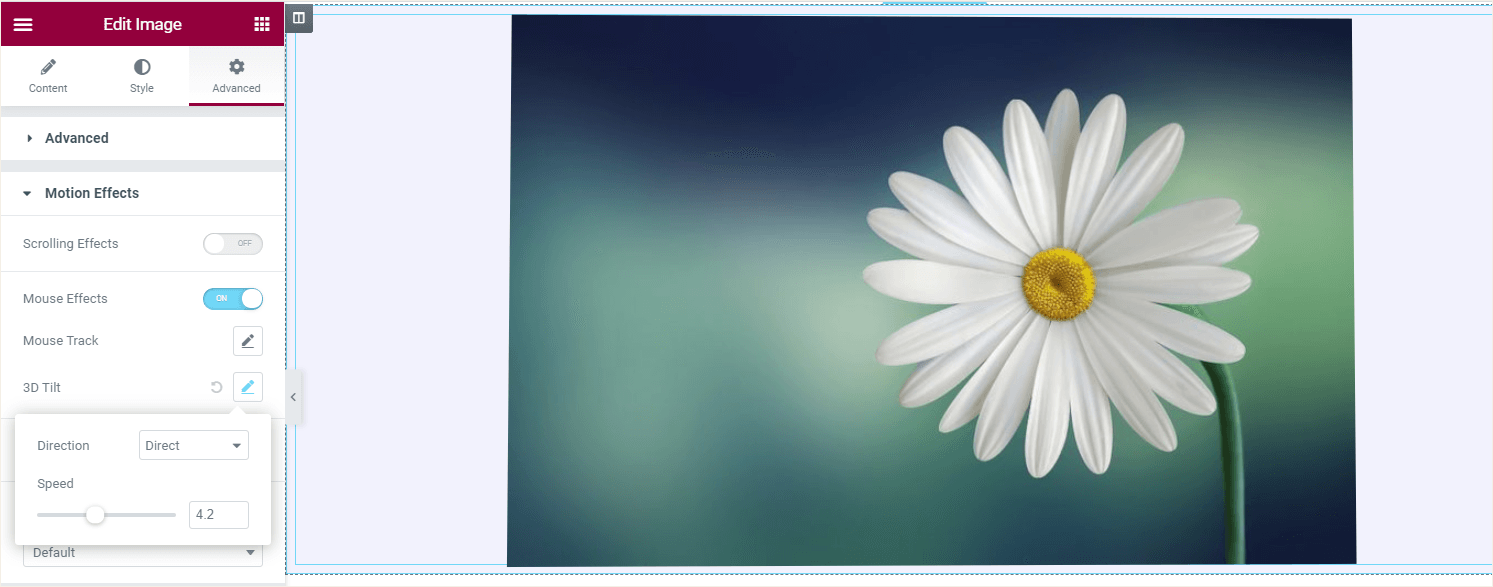
Step 3: Adding 3D Tilt Effect
- Add the Image widget to the container where you want to add the effect
- Next, choose your desired image, set the appropriate image size and alignment.
- Go to the Advanced Tab of the Image widget. Then select the Motion Effects section. Then enable the 3D tilt effect option, set the direction to Direct or Opposite, and adjust your desired Speed.
Here is the final out that we will achieve
FAQs on 3D Image Effect in Elementor
Do I need Elementor Pro for 3D effects?
Yes, the Motion Effects feature (including Mouse Track and 3D Tilt) is available only in Elementor Pro.
Can I use these effects on any image?
Yes, you can apply 3D effects to any image added via the Image widget in Elementor Pro.
Do I need any other plugins besides Elementor Pro?
No additional plugins are required. All motion effects, including 3D Tilt and Mouse Track, are included in Elementor Pro.
Can I control the speed or direction of the effect?
Yes, Elementor Pro allows you to customize the direction and speed of both Mouse Track and 3D Tilt effects.
Make your Image Comparison Catchy
With just a few clicks, you can turn static images into interactive 3D visuals that respond to user behavior. Whether you’re designing a creative portfolio or a product showcase, Elementor Pro’s Motion Effects make it easy to grab attention and improve engagement—no code required. Try it out today and bring your designs to life!


