In a digital world, it’s super important for businesses to connect with their customers and uou’ve probably noticed that almost every Contact Us page has a Google Map showing where the company is located.
Displaying a Google map is a very important aspect of any business website. It helps the customers find your location, connect with your business, and also helps in building your organization’s credibility.
Now, think about a big company with offices all over the world. How can they display all those locations on one map? Well, that’s where the Elementor Addon Elements Google Map widget comes in.
It lets you easily put all your office spots on a single map. This not only helps customers find you easily but also makes your website look really professional, making people trust your business more.
So, whether you have one office or many worldwide, using the Elementor Addon Elements Google Map widget is a smart way to show off all your locations on a map that’s simple and trustworthy.
This article will show how to add a Google Map in Elementor with different location markers and apply different styles and themes to it.
To add an Google Map, you will have to install both the Elementor Addon Elements and the Elementor Page Builder plugins.
Table of Contents
Insert Google Map API key
Please check our detailed article on How to Generate Google Map API Key?
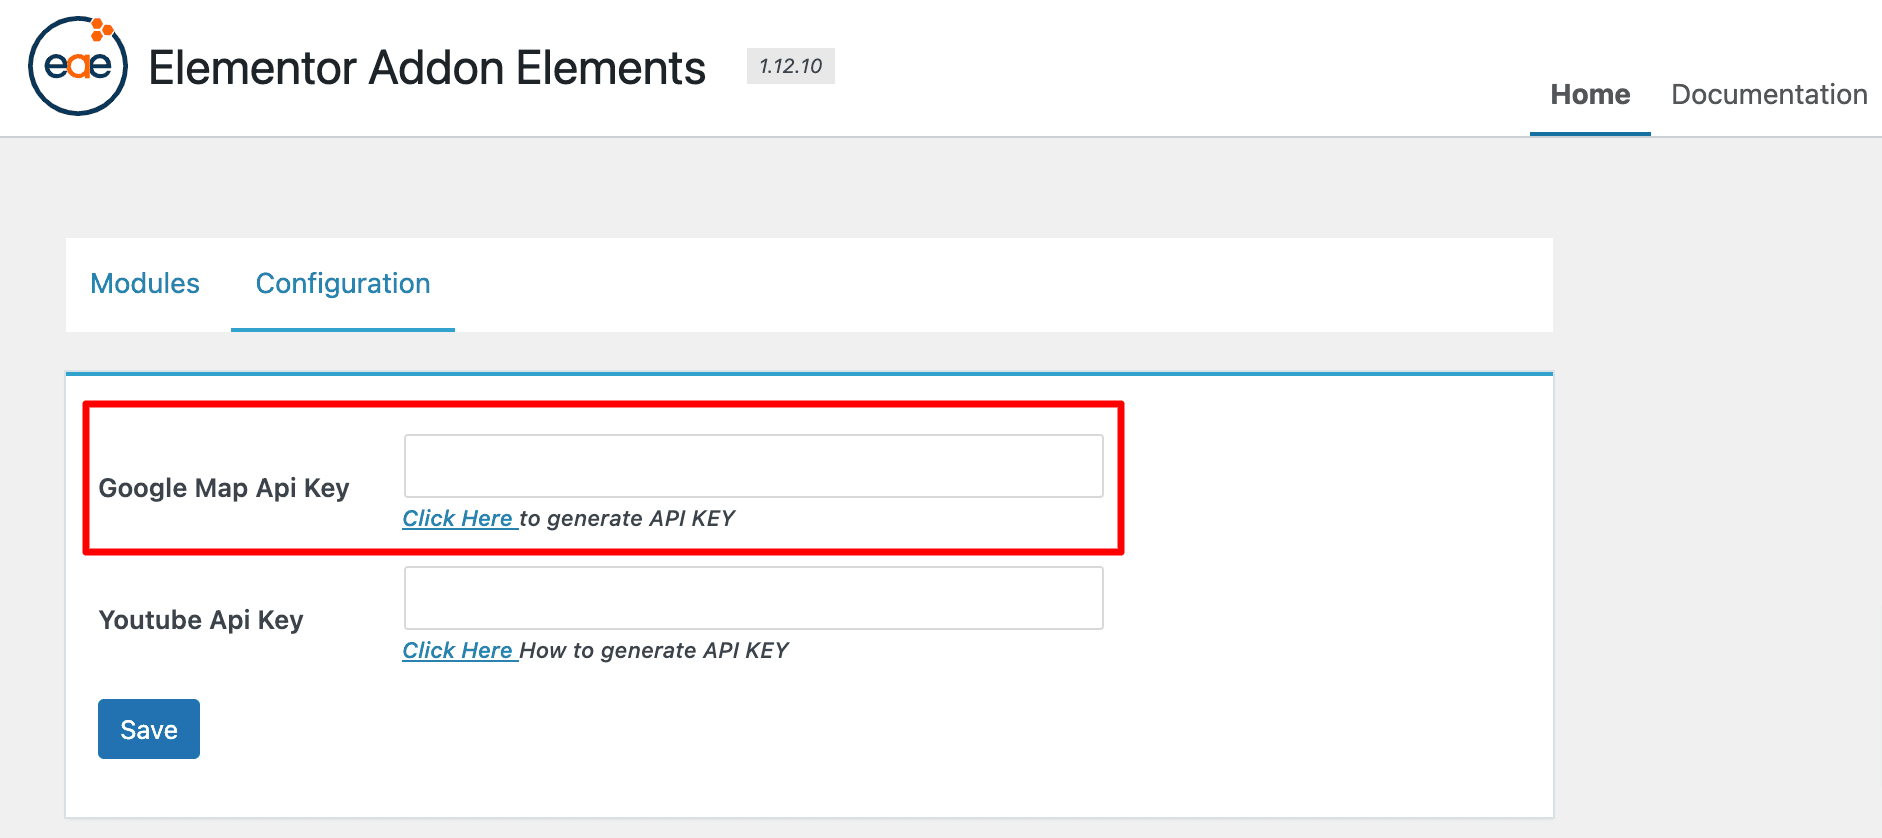
- On your WordPress admin dashboard, Go to the Elementor Addons Elements.
- Under the settings page, click on the Configuration tab, insert the Google Map API key, and save the changes.
Add Google Map In Elementor
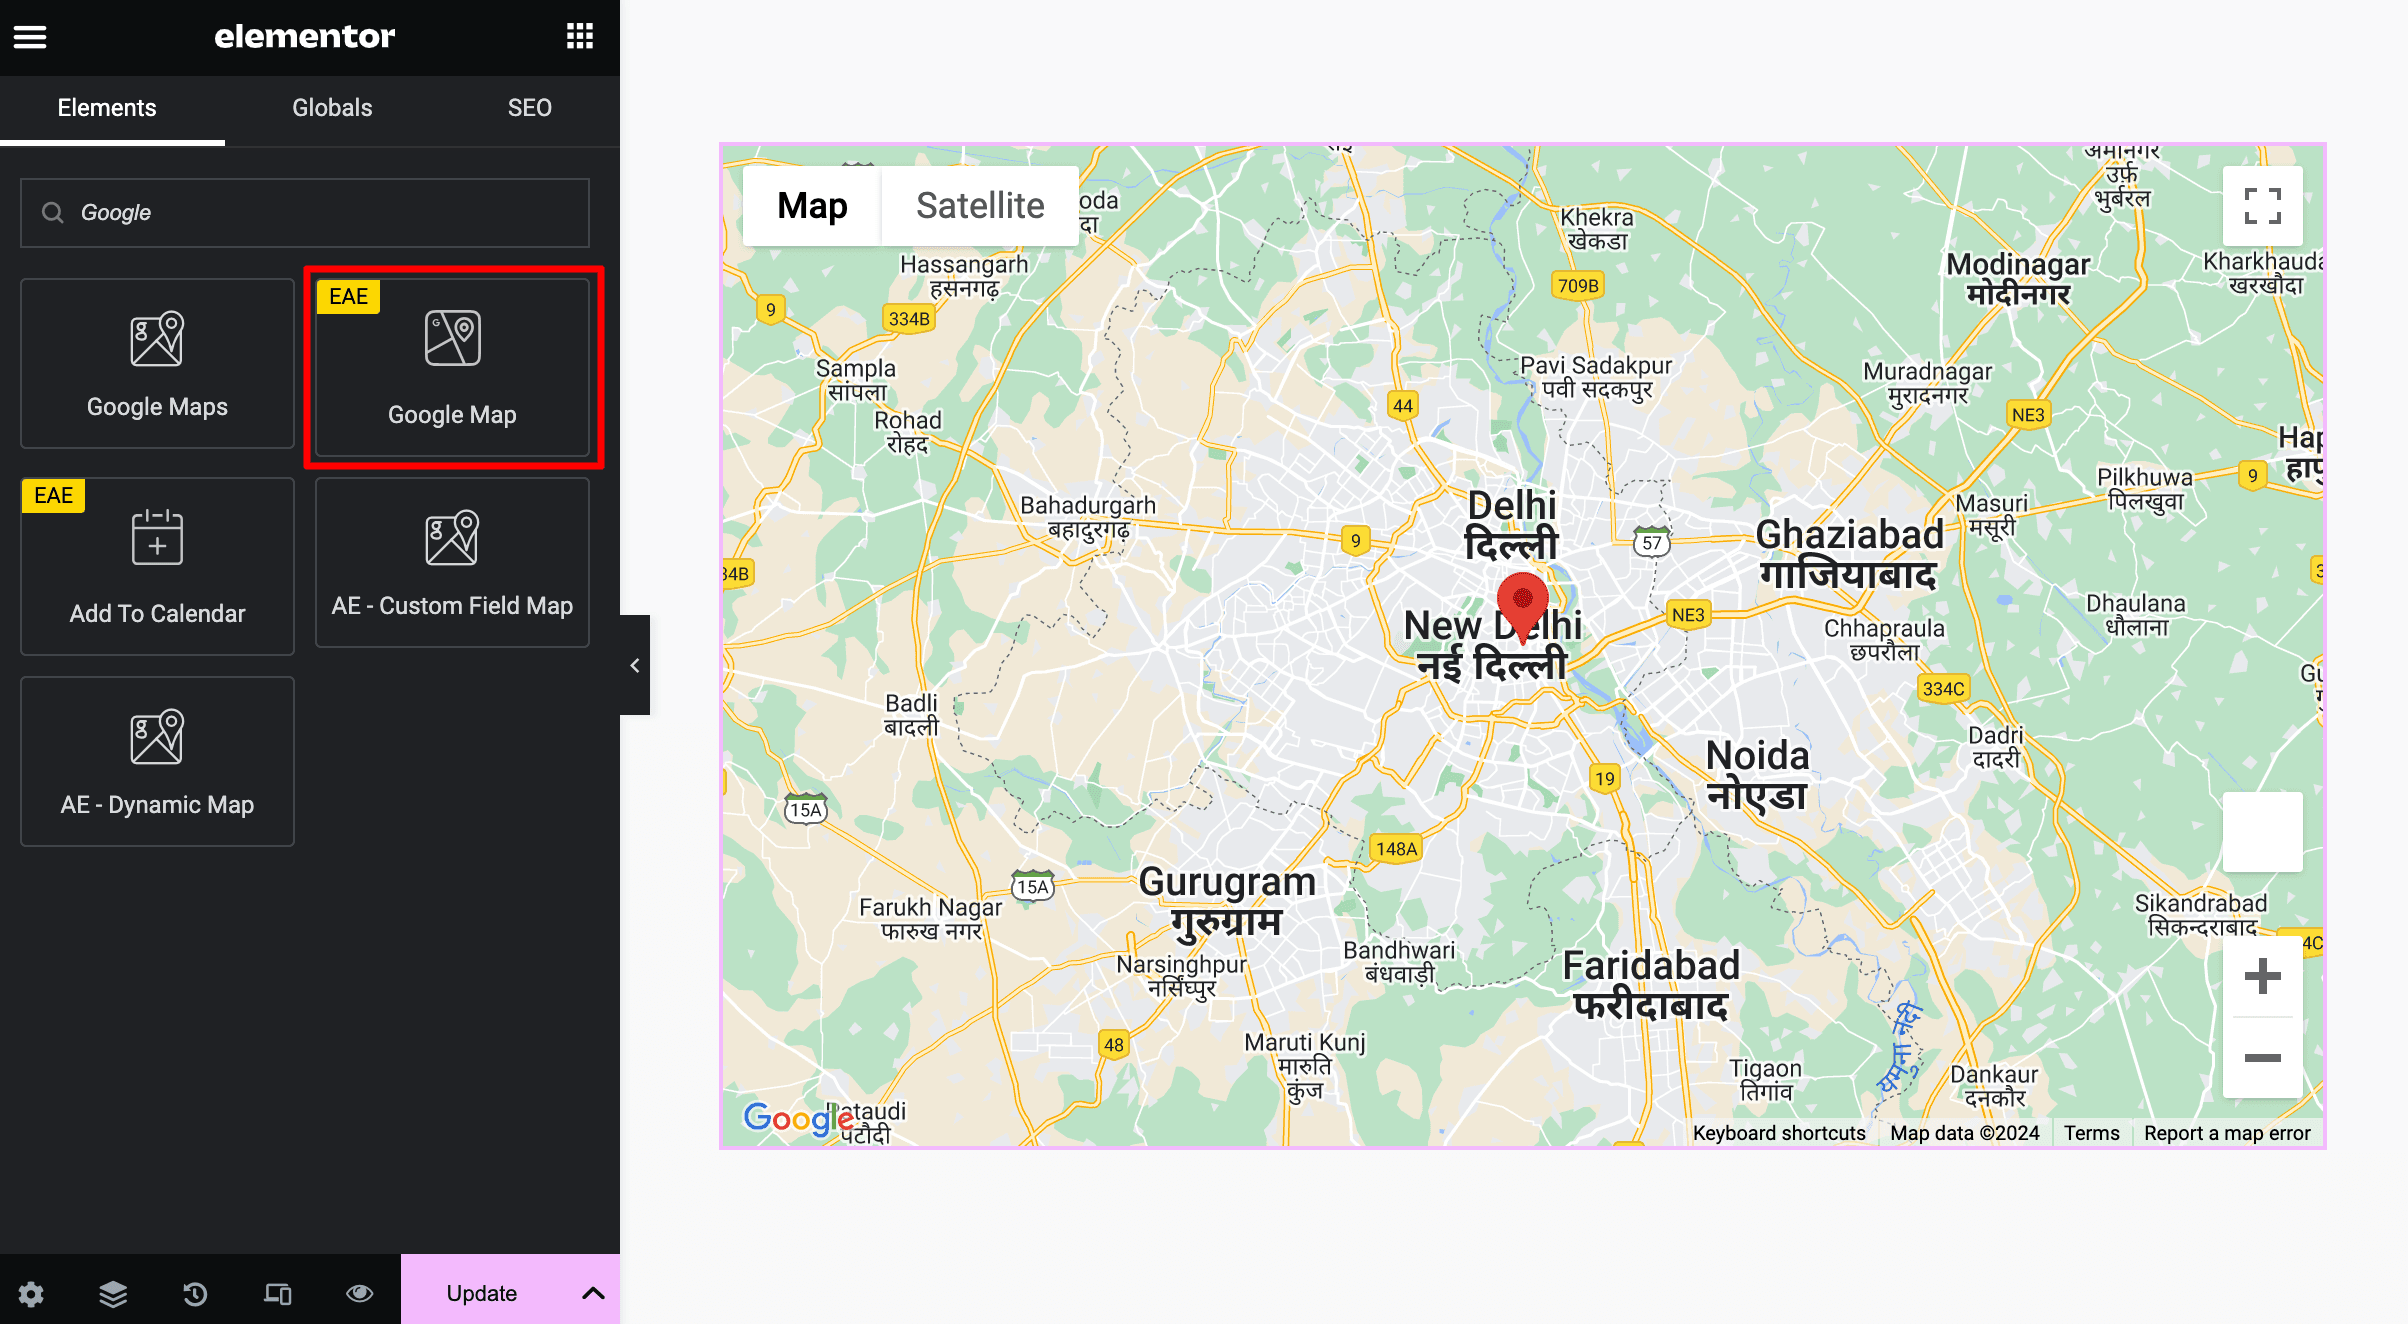
Open the page in the Elementor editor, search for the Google Map, and then drag and drop the Google Map widget onto a section.
Configure The Map
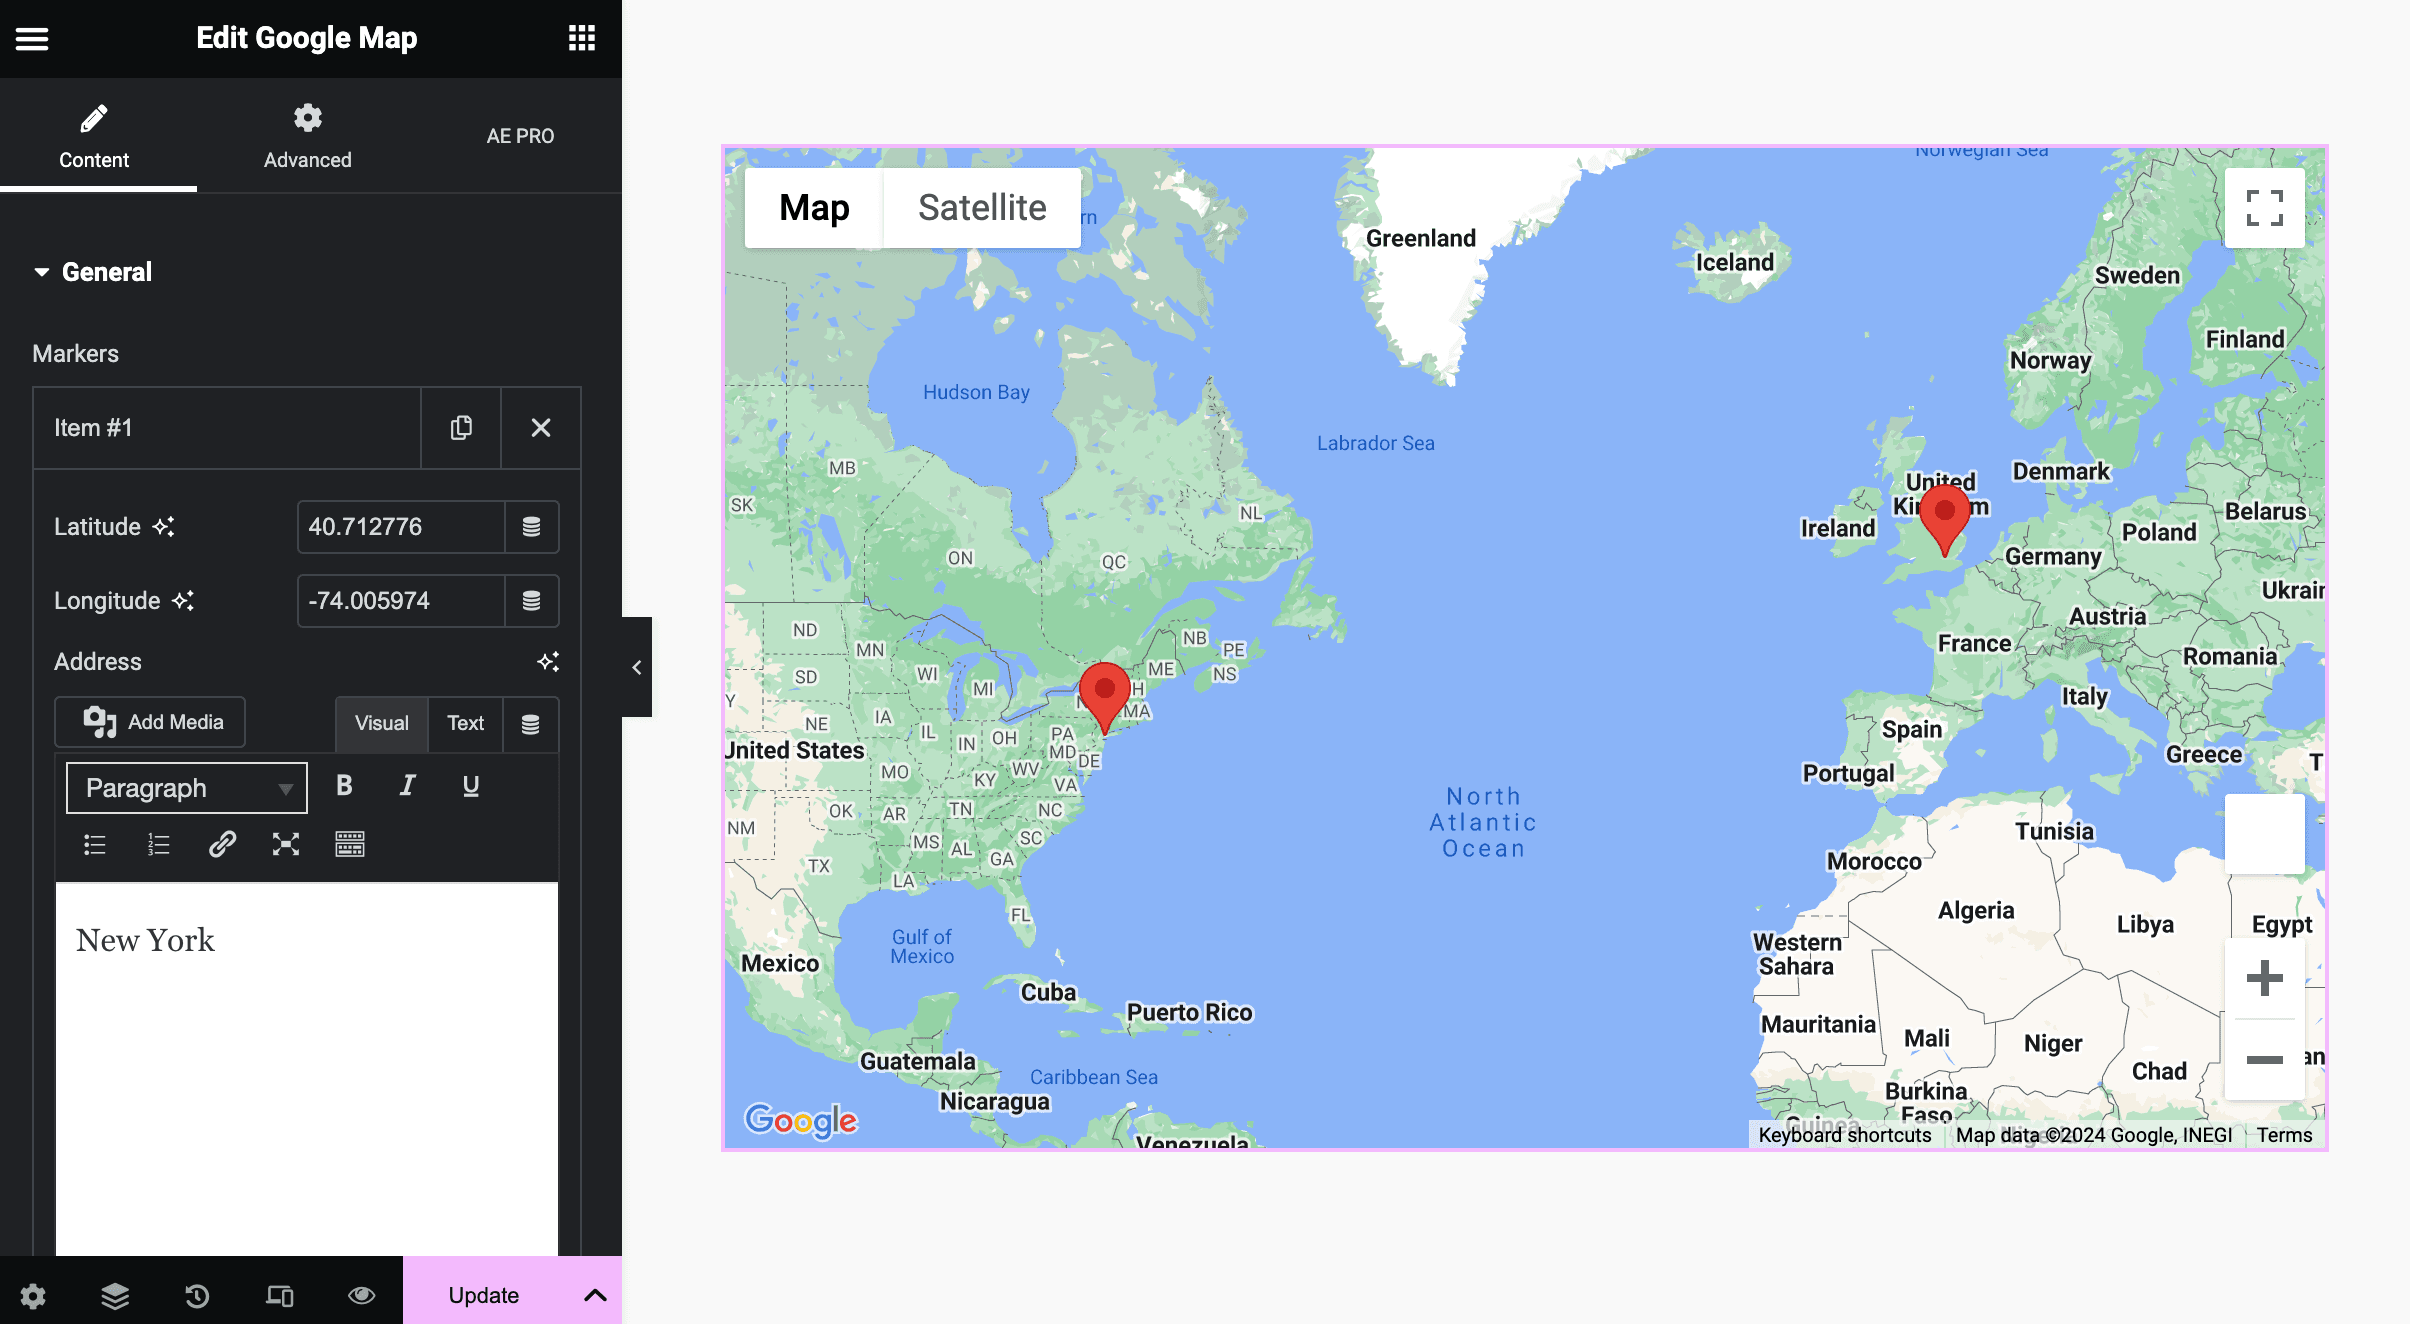
Under the General section, you can add address locations and style your Map. You can add multiple location markers by clicking on the Add Item button.
Under the Longitude & Latitude option, you can specify the location coordinates where you want to place the marker. You can use www.latlong.net to get the coordinates of your desired location.
Next, enter the address details and information.
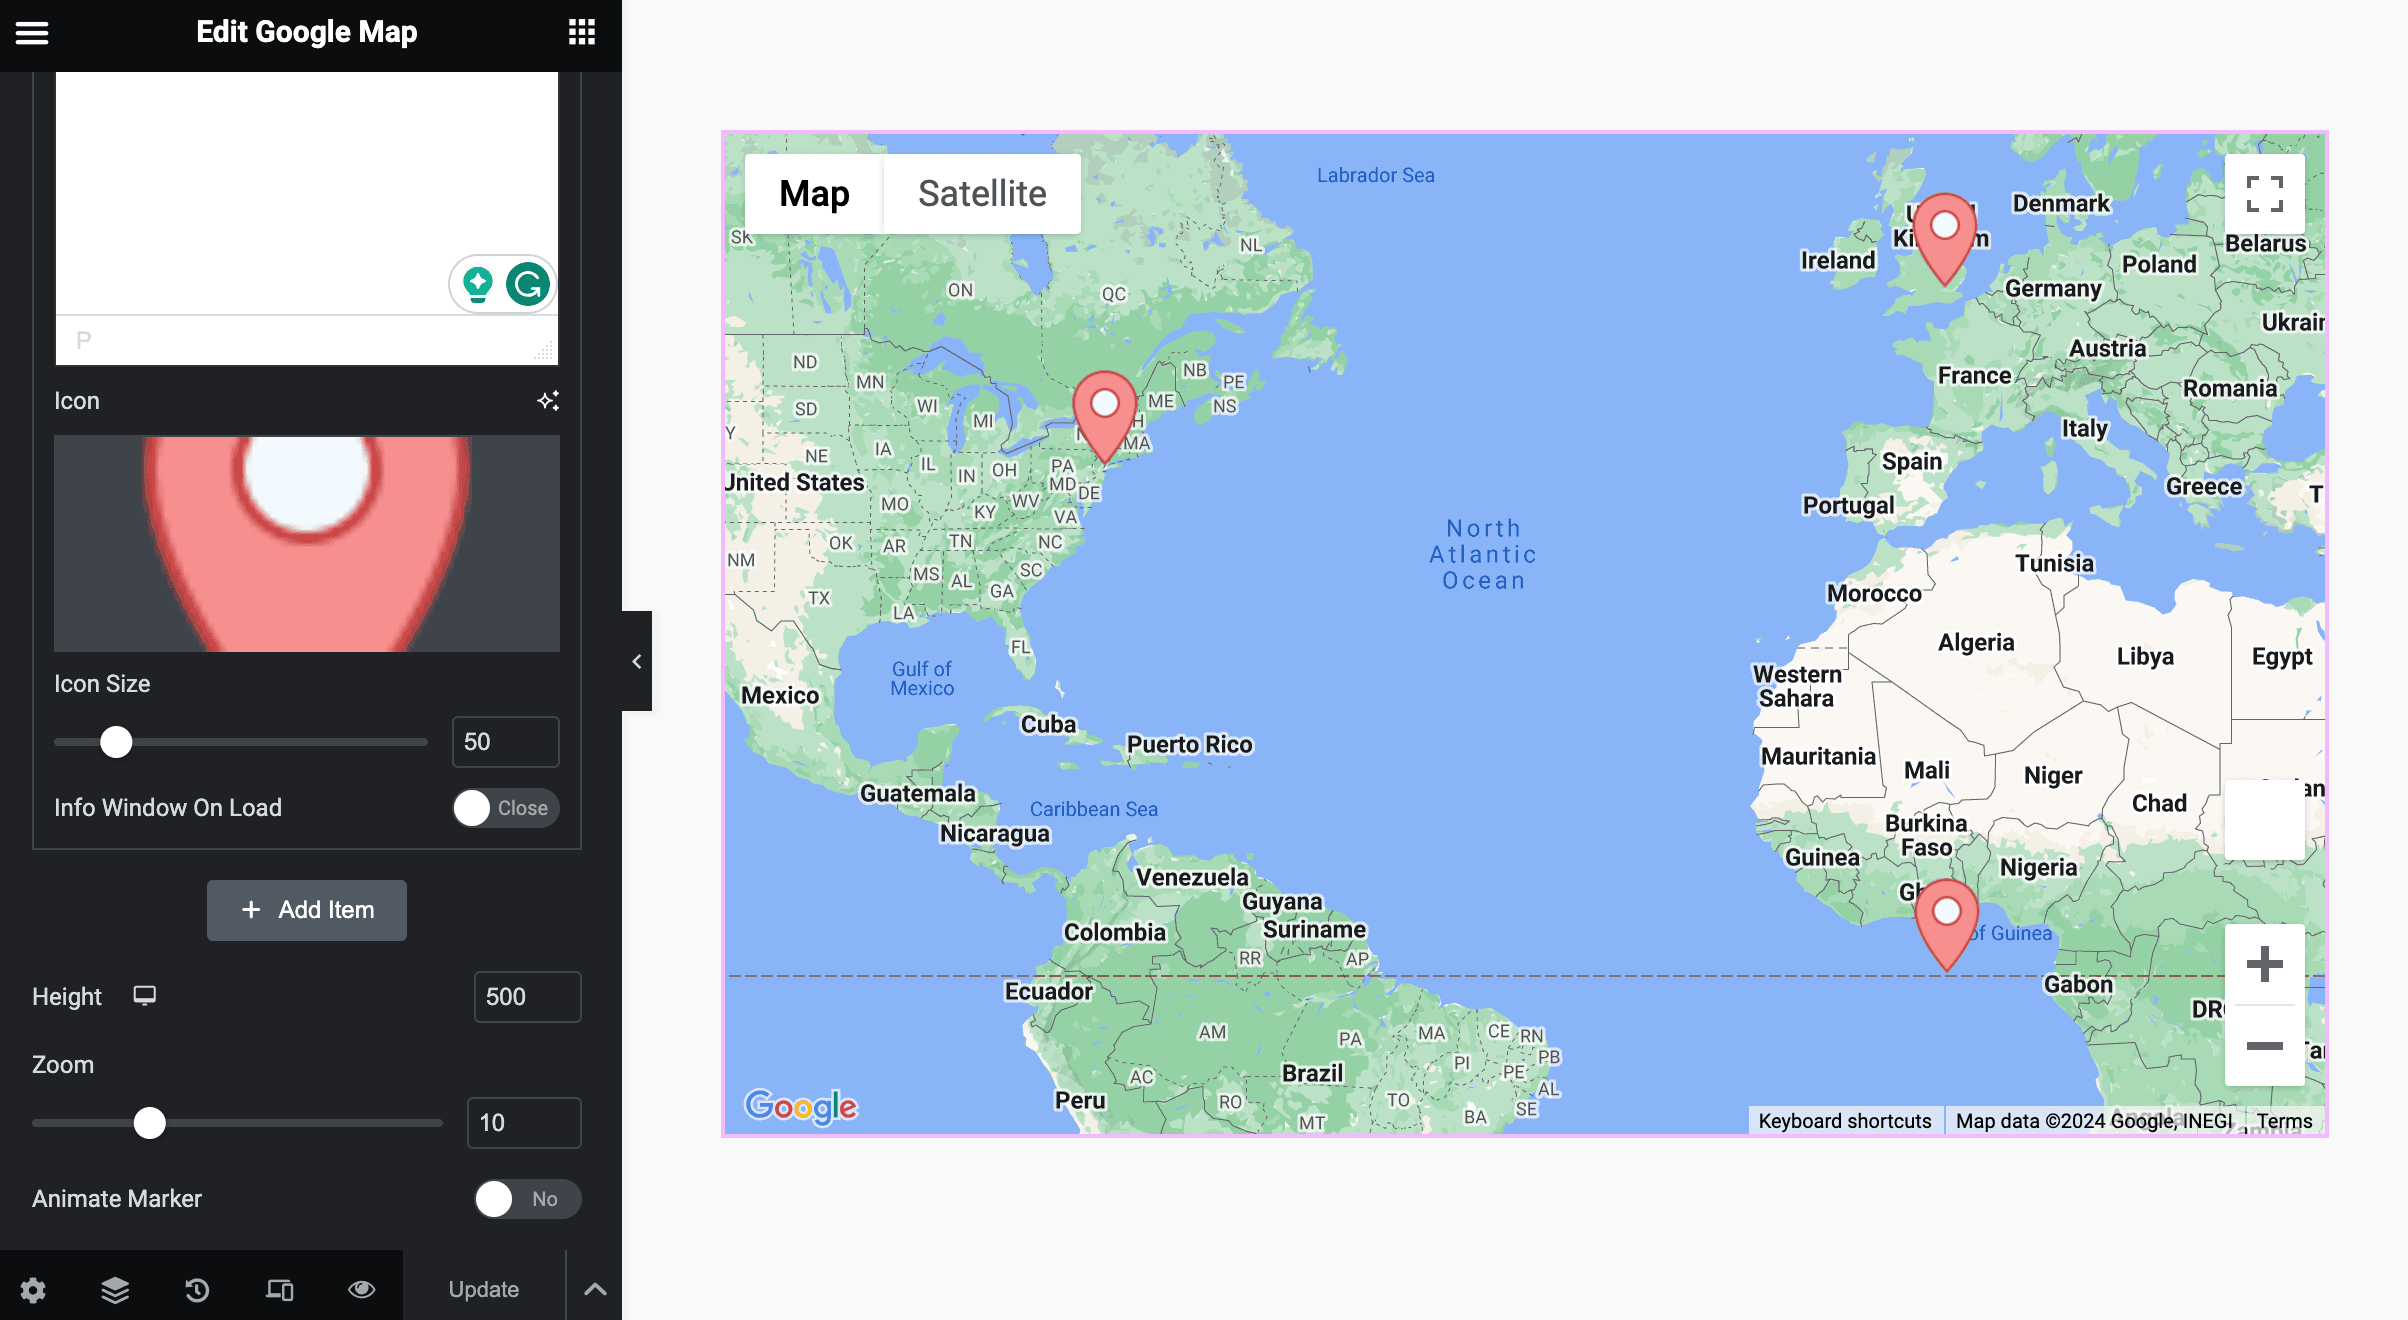
Moreover, you can upload a custom marker icon and adjust its size accordingly.
Further, you can choose whether to show the Info Window on the page load or not. The information Window contains the Address Title and Description.
Next, you can adjust the Map’s height to the zoom percentage and enable the Animate Marker option to insert animated markers into your Google Map. To add the Snazzy Map style, paste the JSON code.
How To Generate Snazzy Map Style
Snazzy Map provides lots of different styles for your Google Maps. If you want to add a Google Map on your Website with a different style and appearance, you can get it from.
To do this, follow these steps:
- Go To Snazzy Map
- Click on the particular Map which you want to display and copy the JSON code.
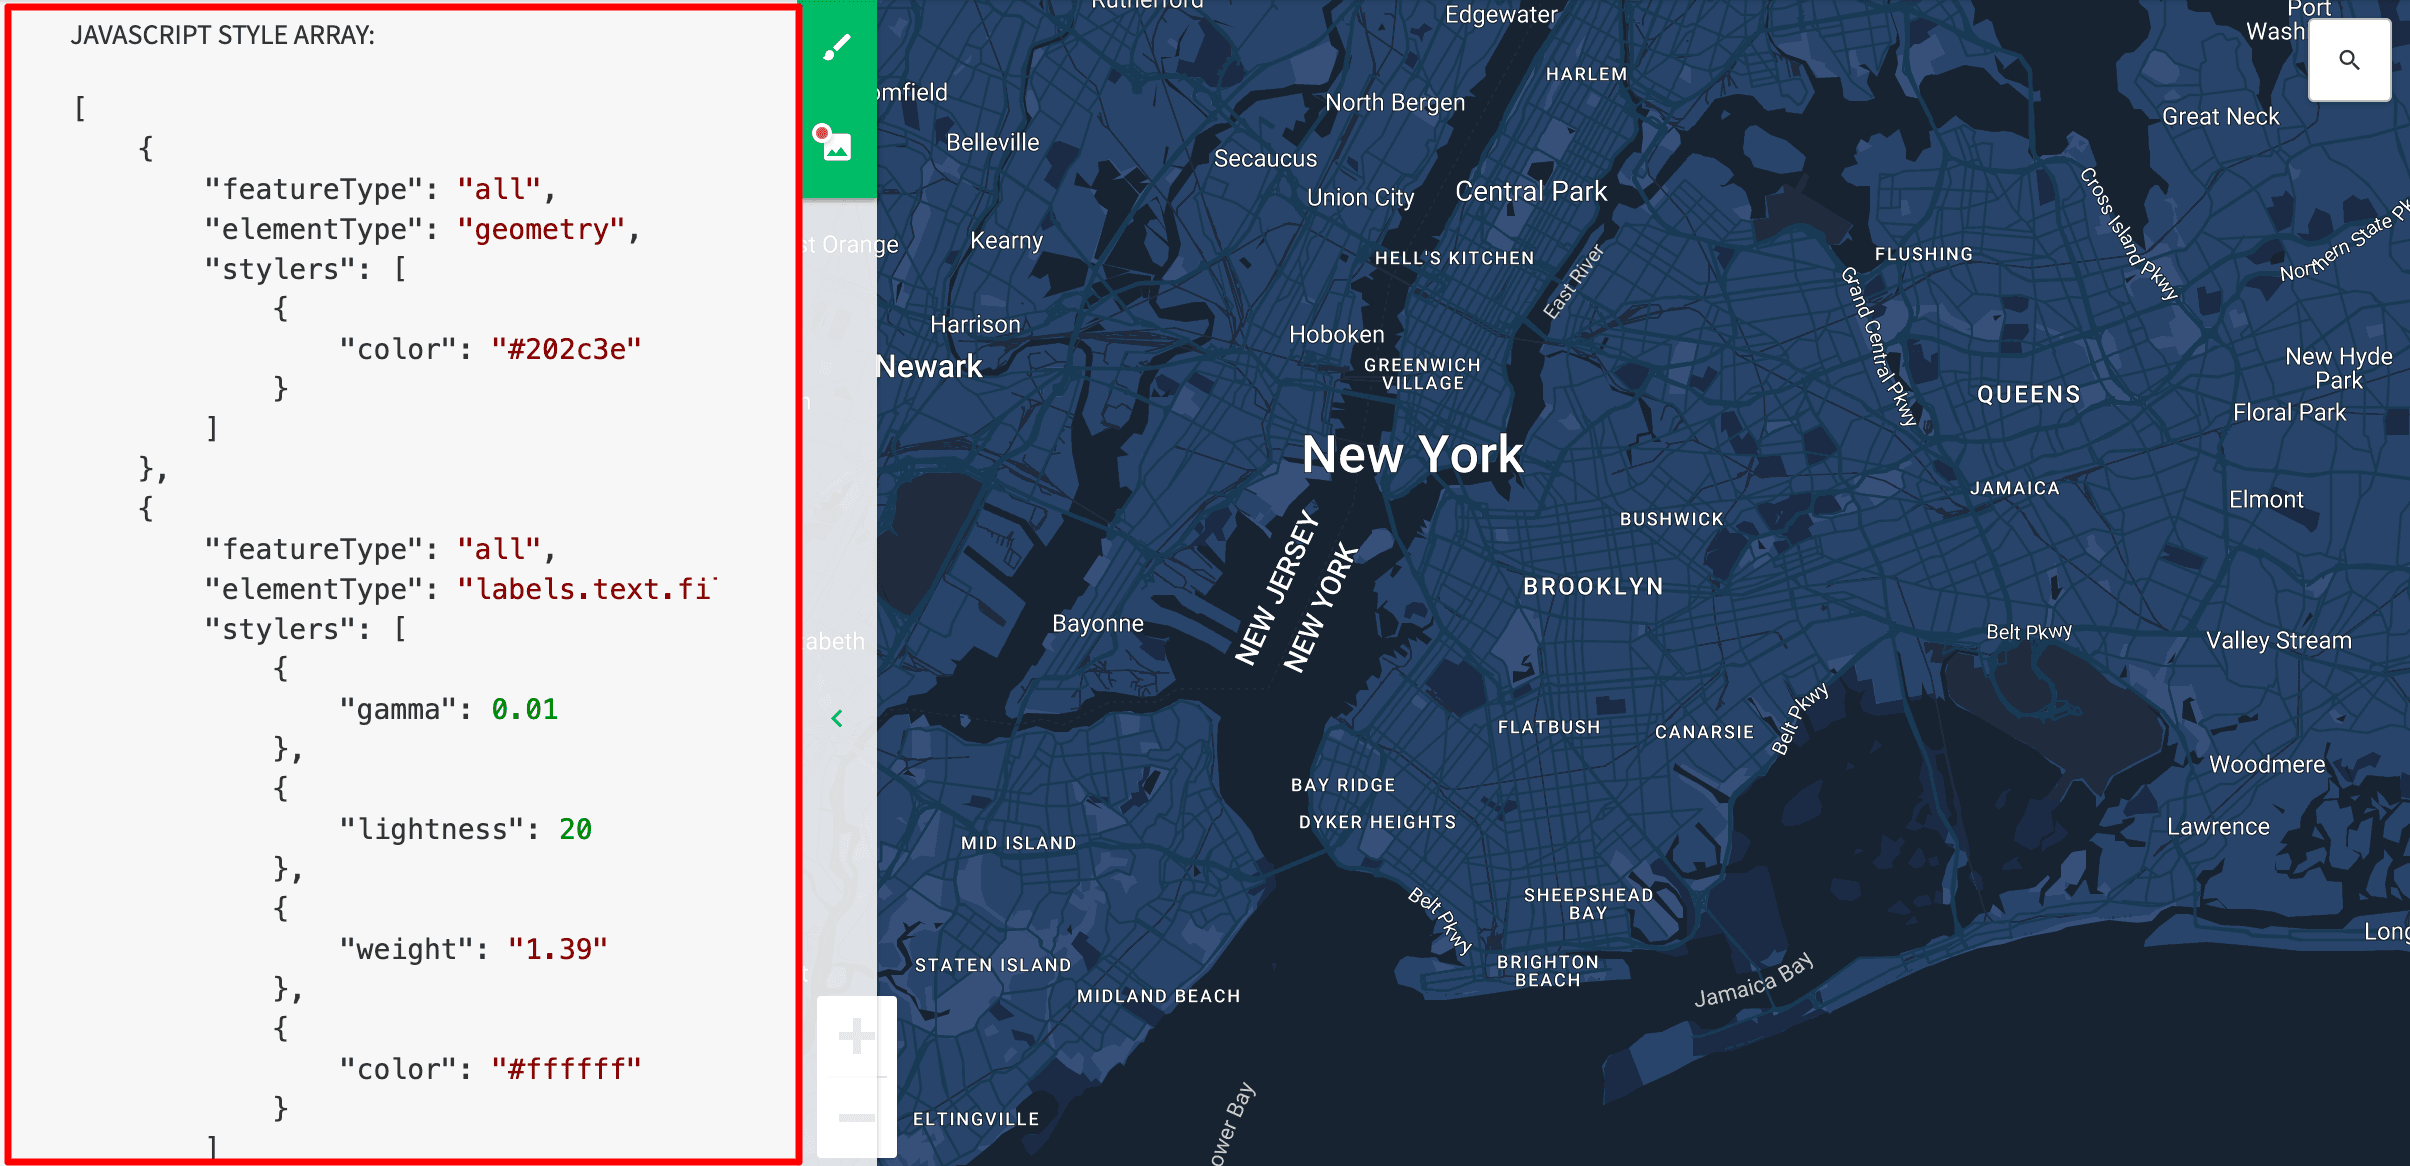
- Put this javascript style array(JSON code) in the “Snazzy Style” field in the widget’s settings.
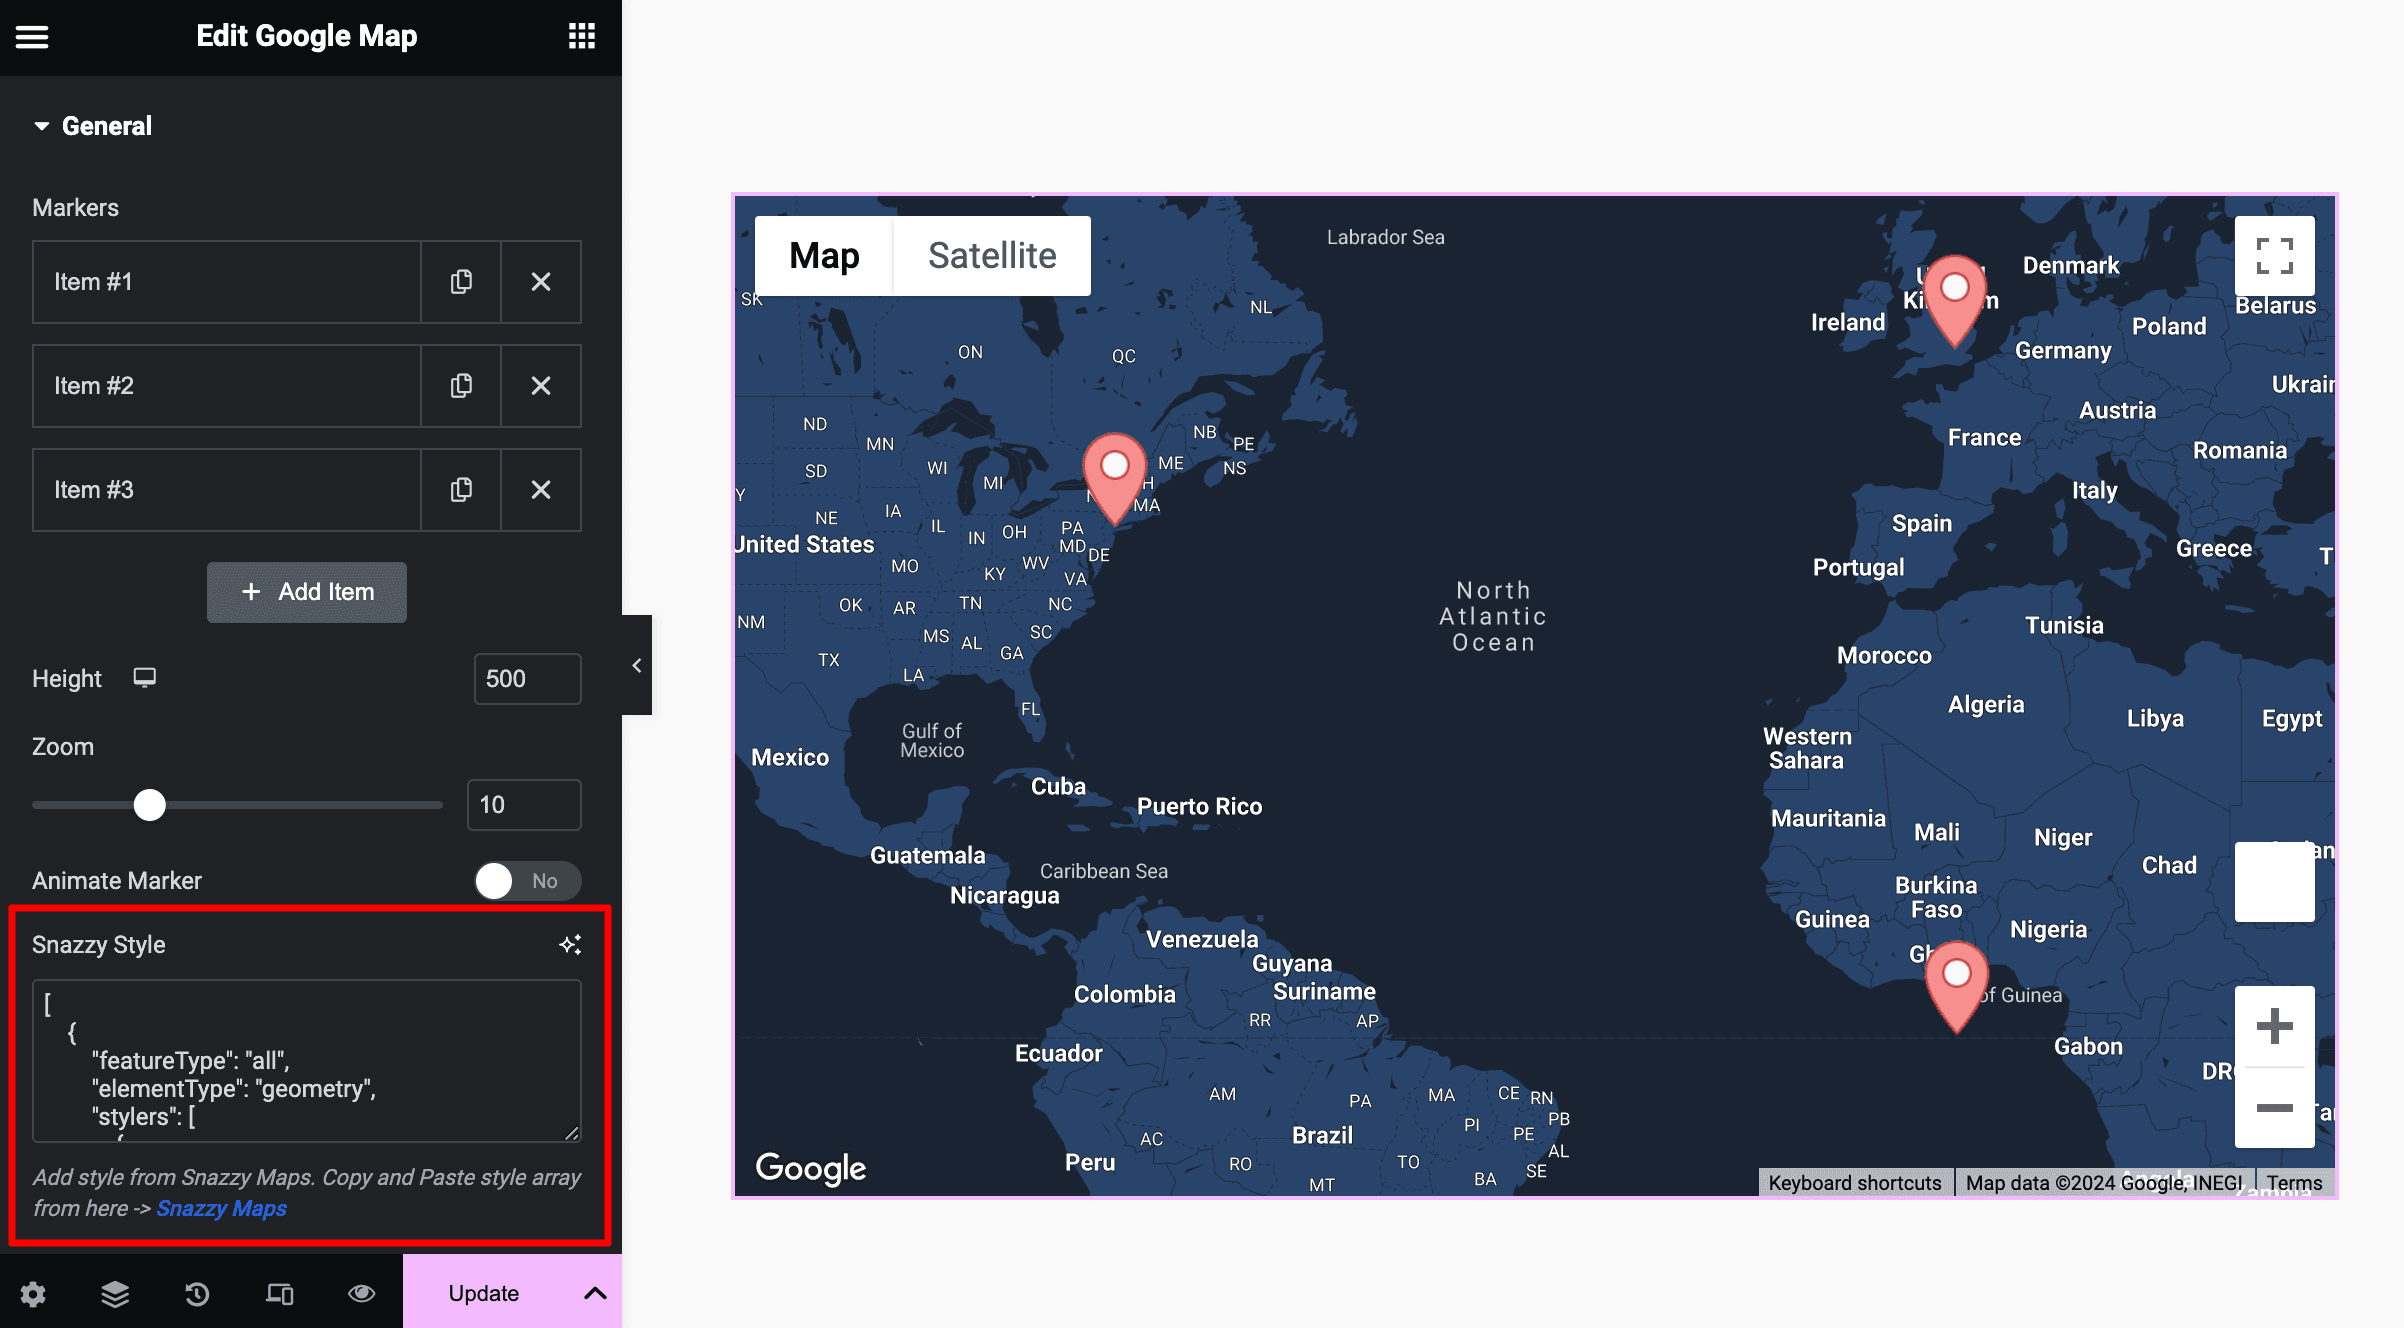
That’s it. Now you have styled Google Maps that is completely blended with the theme of your Website.
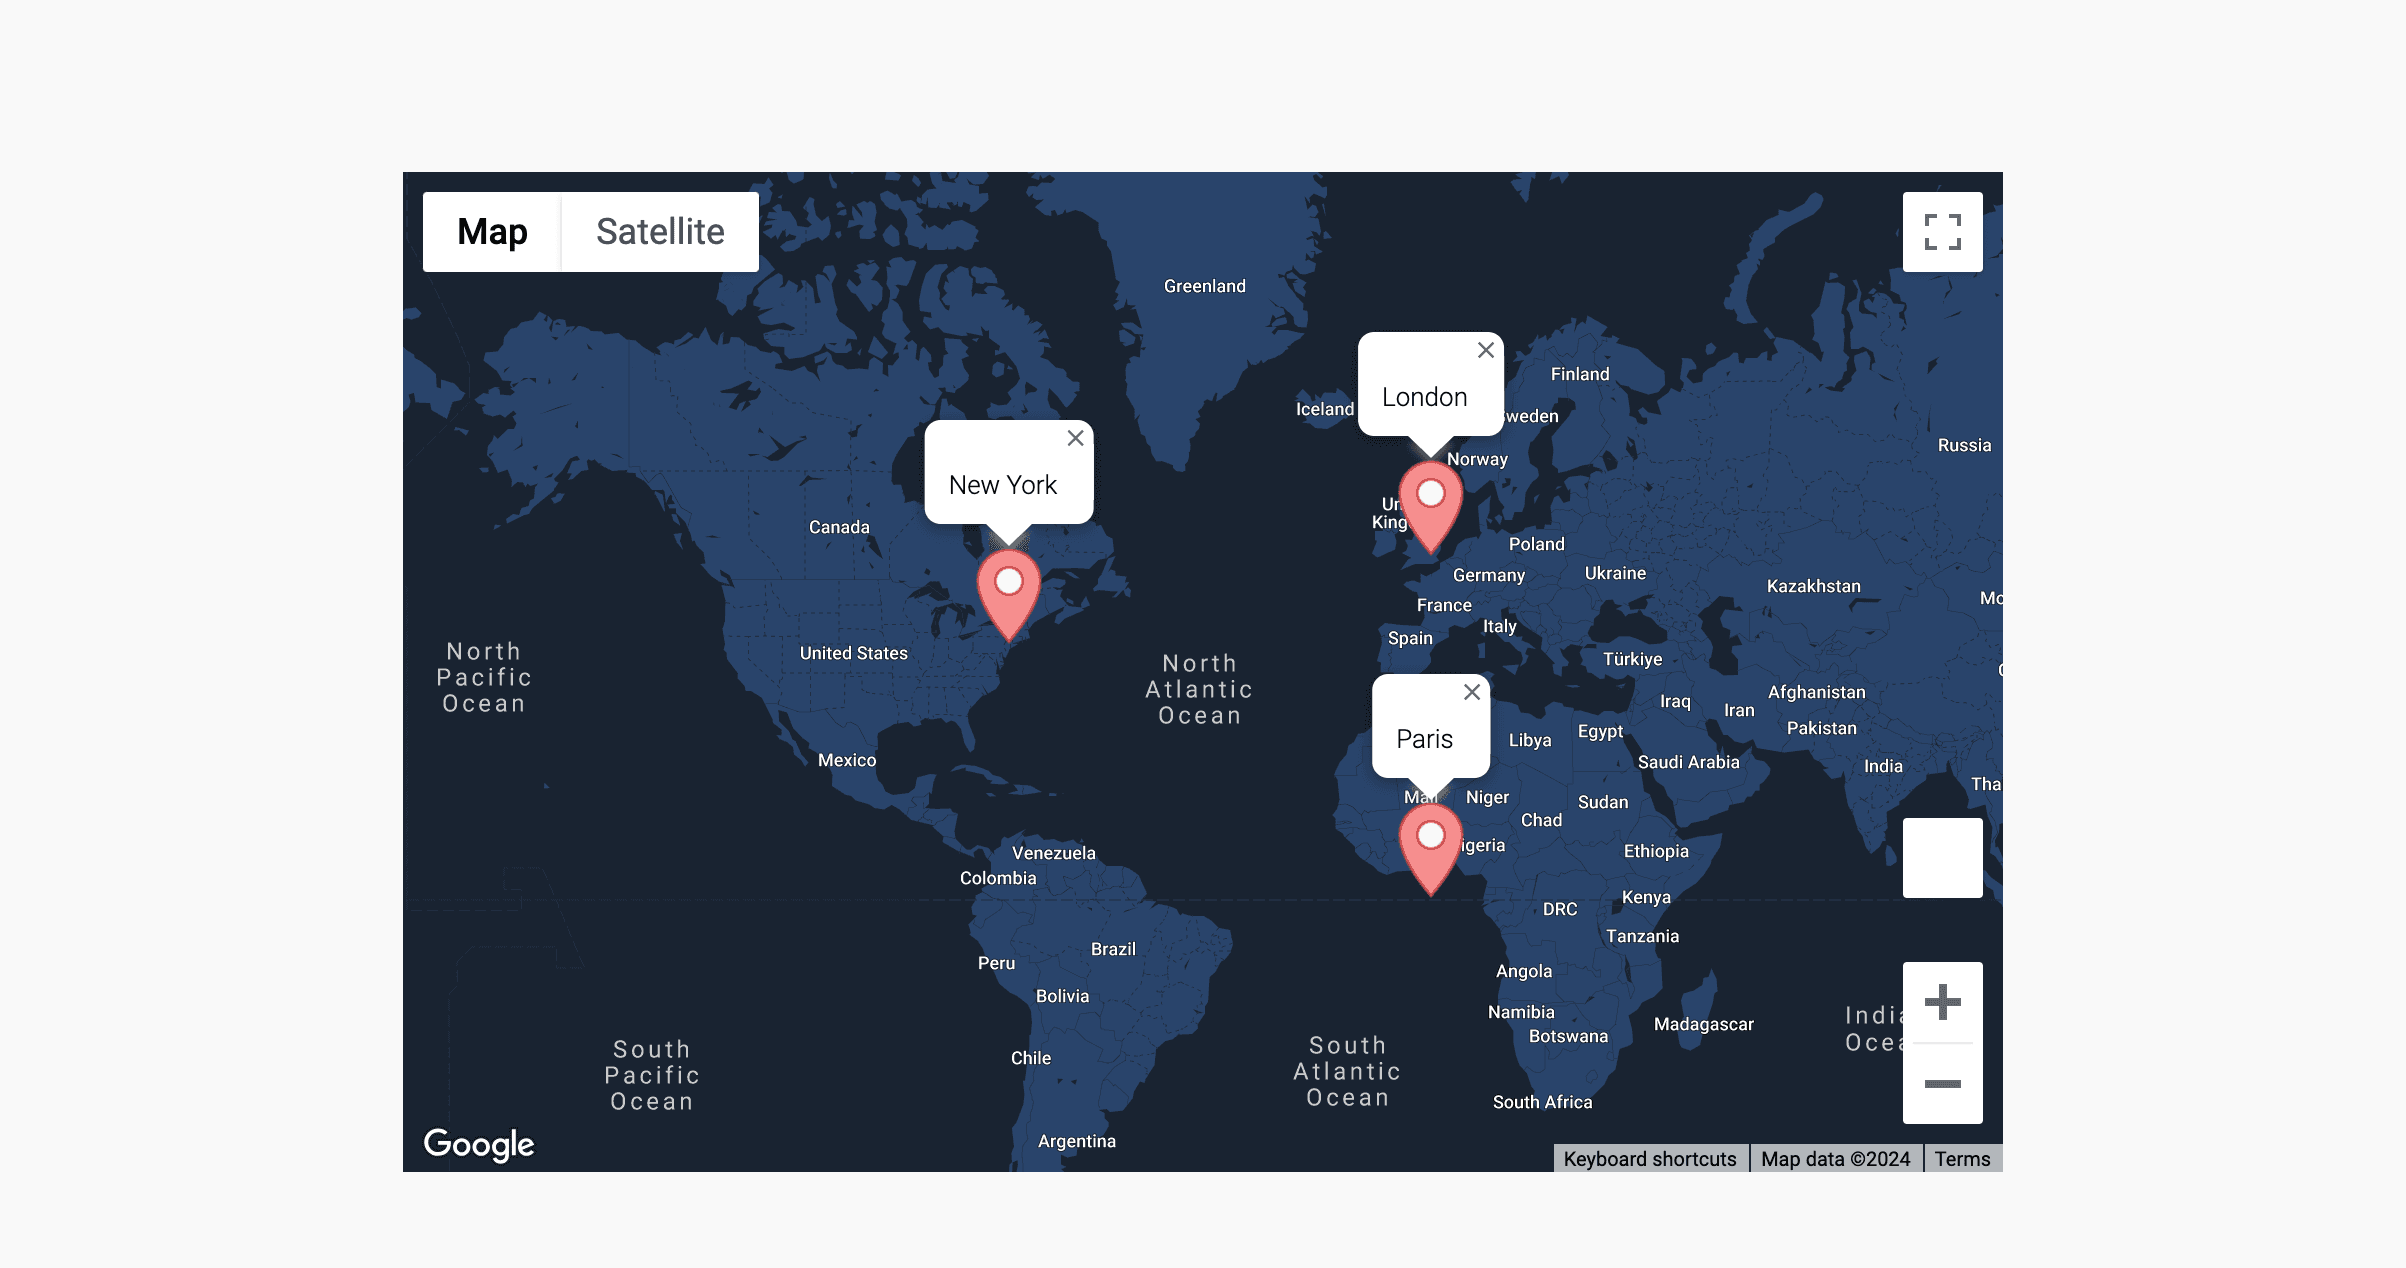
Checkout the Google Map Demo Setup.
Conclusion
In conclusion, incorporating Elementor Addon Elements Google Maps widget with Snazzy Map styles is a powerful and visually appealing addition to your website. This not only facilitates easy navigation for your users but also enhances the overall aesthetic, blending seamlessly with your site’s theme.
By following the steps outlined in this guide, you can effortlessly elevate the appearance of your Google Maps, making them more engaging and aligned with your brand.


