Are you looking to personalize your WordPress site but worried about losing your custom changes whenever the theme updates? This is a common issue for many WordPress users. When you make changes directly to your theme’s files, those changes can be overwritten with each update, potentially causing you to lose your hard work.
But no worries, there’s a solution that lets you personalize your site safely and effectively by using a child theme in WordPress. A child theme allows you to customize Wesbite without affecting the parent theme’s core files. This means you can update the parent theme without losing your personalized adjustments.
In this guide, we’ll walk you through creating and customizing a child theme so you can enjoy a fully personalized site without the hassle of losing your work.
Understanding Parent Theme vs. Child Theme
Knowing the difference between parent and child themes is important when working with WordPress. The parent theme is the foundation of your site’s design and functionality, while the child theme allows you to make customizations safely. By understanding these differences, you can ensure that your site remains unique and up-to-date.
| Aspects | Parent Theme | Child Theme |
|---|---|---|
| Definition | The core theme that defines the overall design, layout, and functionality of your site. | A theme that inherits the design and functionality of the parent theme but allows for customizations. |
| Customizations | Direct changes can be overwritten during theme updates. Customizations are part of the main theme’s files. | Customizations are made in the child theme’s files, preserving your changes even if the parent theme is updated. |
| Purpose | Provides the core design and features for the site. | Allows for safe customizations and modifications without affecting the parent theme. |
| Updates | Updates to the parent theme may override any direct changes made to its theme files. | Updates to the parent theme do not affect customizations in the child theme, as changes are kept separate. |
| Best Use Case | Suitable for standard setups and initial site design. | Ideal for users who want to customize their site extensively or experiment with new features without risking the original design. |
When to use a Child theme?
Child themes in WordPress are used to customize your website. They offer a safe and secure way to make changes without messing with the core theme files. Here’s using a child theme is a good idea when:
- You want to change the look and feel of your website (colors, fonts, layouts), but you don’t want to lose those changes when the parent theme updates.
- You plan on adding custom features or functionalities to your website that aren’t included in the parent theme.
- You want to keep your website’s code organized and easy to maintain. This is especially important if you’re working with a developer or plan on making modifications in the future.
- You’re worried about accidentally breaking your website by editing the parent theme directly. A child theme provides a safe space for your customizations.
Benefits of Creating a Child Theme
Creating a child theme in your WordPress website offers multiple benefits. Here they are:
- Safe Updates: You can update the parent theme without losing any customizations you have made. It ensures your site stays up-to-date and secure without compromising your custom design and features.
- Easy to Extend Functionalities: Child themes allow you to enhance a parent theme’s functionality easily. You can add custom code, styles, or templates to your child theme without changing the parent theme’s core files. This makes it easier to maintain your customizations and keeps your code organized.
- Organized Code: It keeps your custom code separate from the theme’s core files, making it easier to manage and troubleshoot. Your customizations are clearly defined and located within the child theme’s directory.
- Reusability: You can use a child theme on multiple websites with the same parent theme. Once you create and customize a child theme for one site, you can easily use it on others. It saves time and effort, especially if you manage several websites with the same design.
Steps to Create a Child Theme
Creating a child theme in WordPress is a perfect way to customize your site while preserving the original theme’s updates and functionality. We’ll use the Storefront theme for this demonstration, but you can follow these steps with any WordPress theme you prefer.
Step 1: Setting Up Child Theme Folder
To start creating your child theme, you must create a folder to store all your child theme files. Here’s how to do it:
- Navigate to
wp-content/themes. This is where all your WordPress themes are kept. - Create a new folder for your child’s theme inside the themes directory. Give it a clear name that reflects the parent theme. For example, if you’re using the Storefront theme, you could name your folder
storefront-child.
This folder will store all the files related to your child’s theme, including stylesheets, custom functions, and any additional templates you want to add.
Step 2: Creating & Configuring the Stylesheets
The next step is to create a style.css file for your child’s theme. This file will hold all your custom styles and CSS rules. Here’s how to set it up:
- Go to your child theme folder and create a new file named
style.css.
- Use a code editor like VSCode to open the style.css file. You can use any code editor you’re comfortable with.
- At the top of the style.css file, you need to include a particular header comment. This comment tells WordPress that this is a child theme and links it to the parent theme. It’s essential to include specific details for the stylesheet to work properly.
- You must include two important elements of information: the
Theme NameandTemplate. The Theme Name is the name of your child’s theme, and the Template refers to the parent theme’s folder name. You can also add extra details like the theme version, author name, and description.
Here’s an example of what the header comment in your style.css file should look like. Be sure to include the name of the parent theme’s folder in the Template line.
/*
 Theme Name:   Storefront Child
 Theme URI:    http://example.com/storefront-child/
 Description:  Storefront Child Theme
 Author:       Your Name
 Author URI:   http://example.com
 Template:     storefront
 Version:      1.0.0
*/
Step 3: Enqueuing Parent and Child Stylesheets
After creating the style.css file for your child theme; the next step is to make sure both the parent and child theme stylesheets are correctly loaded. You’ll need to set up a functions.php file in your child theme to do this. Here’s how to do it:
- Go to your child theme folder and create a new file named functions.php.
- Open the file in your favorite code editor.
- Then, in the
functions.phpfile, you need to add a code snippet to load the parent theme’s stylesheet and the child theme’s stylesheet. This is done using thewp_enqueue_style()function.
Here’s the code you should add. Ensure the child theme’s stylesheet is loaded after the parent theme’s.
<?php
function storefront_child_enqueue_styles() {
    // Enqueue the parent theme's stylesheet
    wp_enqueue_style('storefront-parent-style', get_template_directory_uri() . '/style.css');

    // Enqueue the child theme's stylesheet
    wp_enqueue_style('storefront-child-style', get_stylesheet_directory_uri() . '/style.css', array('storefront-parent-style'));
}
add_action('wp_enqueue_scripts', 'storefront_child_enqueue_styles');
?>
Installing & Activating Your Child Theme
After you’ve set up the style.css and functions.php files in your child theme’s folder, which are important for creating your child theme, you’re ready to install and activate it on your website.
To install and activate your child theme, follow these steps:
- Log in to your WordPress admin dashboard.
- Navigate to Appearance ➝ Themes.
- Look for the child theme you created. When you see it, hover your mouse over the theme.
- Click the Activate button that appears.
Your child theme is now active and live on your WordPress site!

Customizing Child Theme
After activating your child theme, you’re ready to start customizing its style and functionality. This means you can now change how your website looks and works to better suit your needs. Below, we will show you how to apply custom styles using the style.css file and add some functionality using the functions.php file of your child’s theme.
Adding Custom Style to Your Child Theme
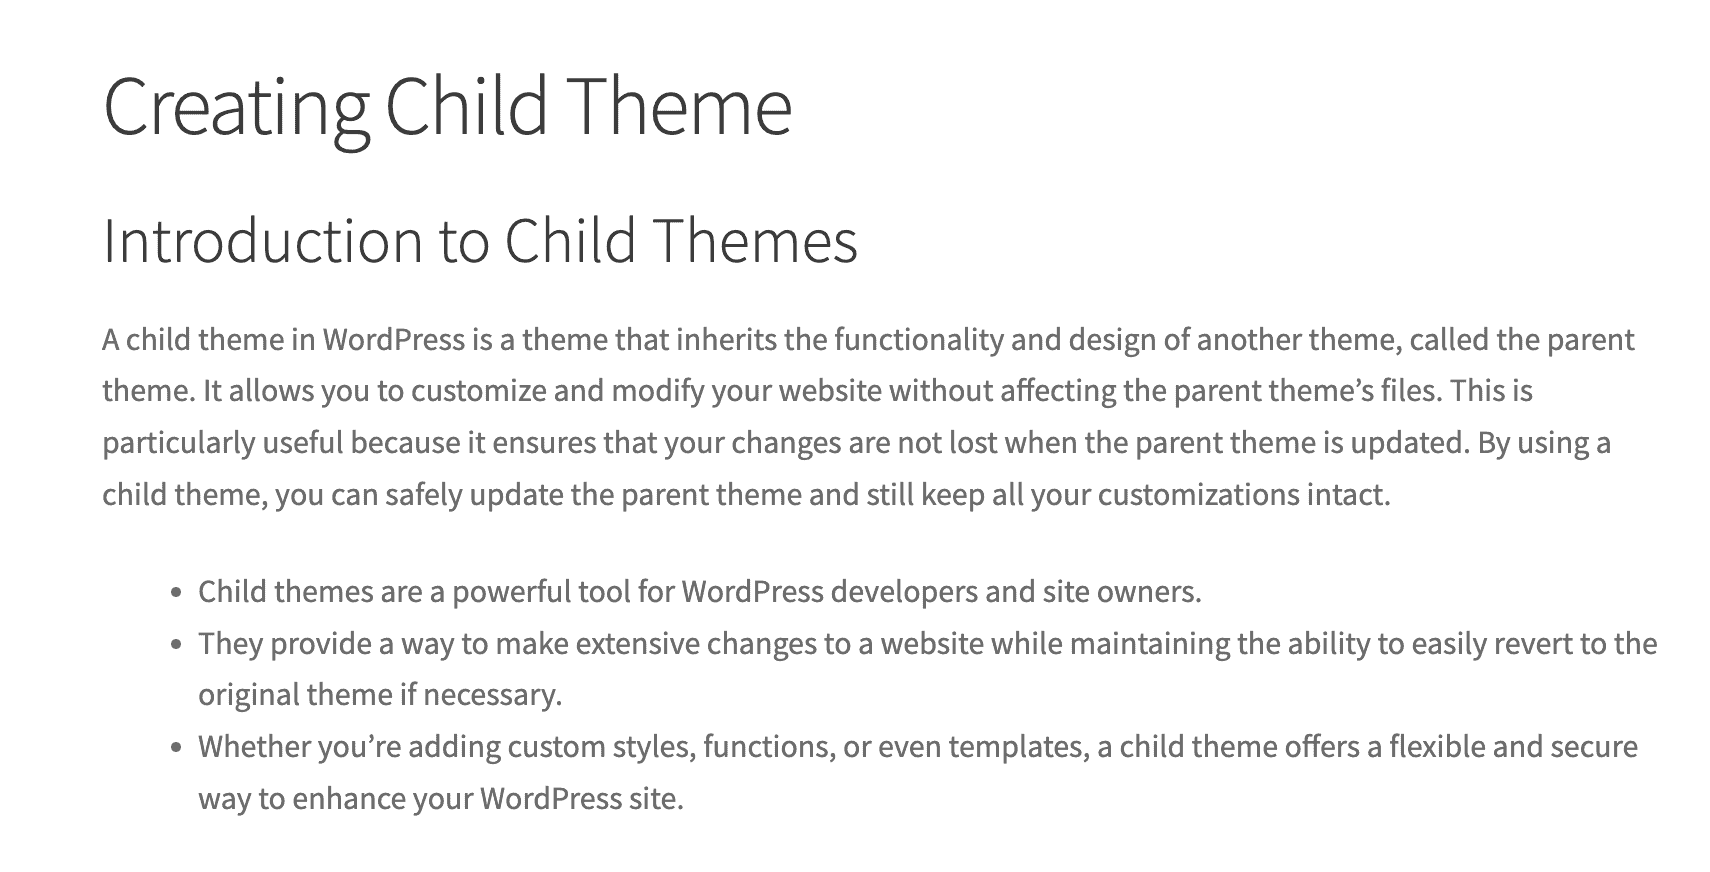
To change the appearance of your website, you need to edit the style.css file of your child theme. You can change the appearance of specific elements like classes and IDs by editing their properties, such as fonts, colors, background colors, and more.
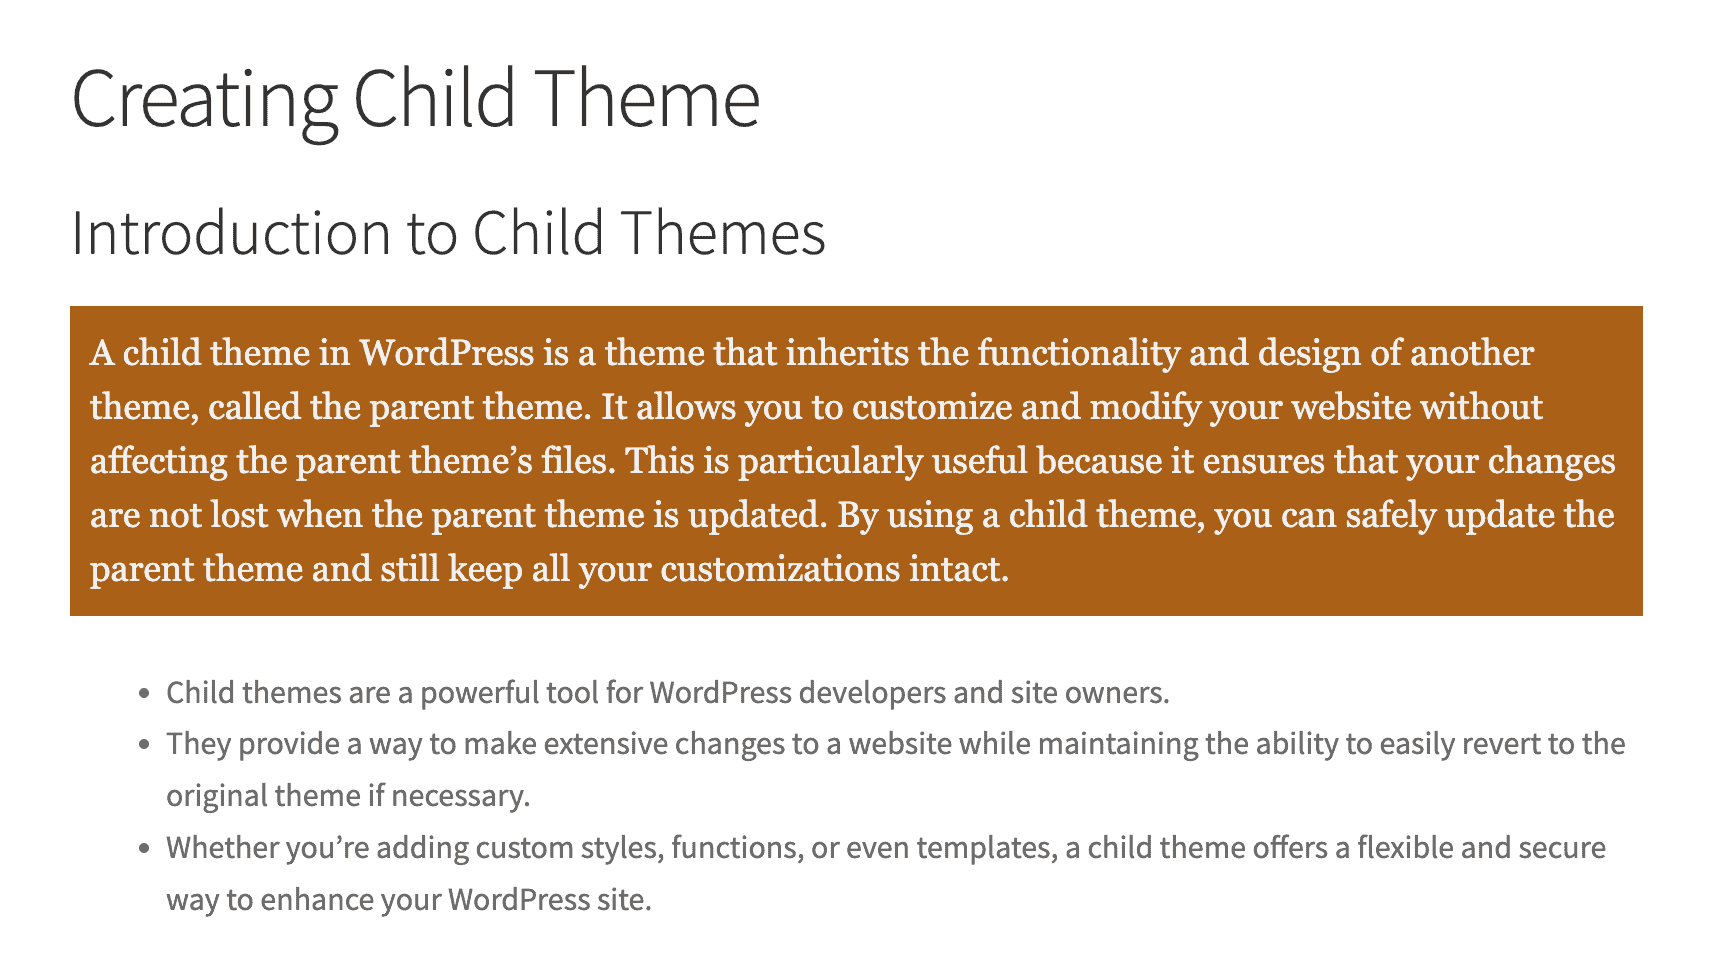
Here’s an example of how to change the color, fonts, and other properties of the <p> (paragraph) tag:
p {
    color: #f0f0f0; /* Change the text color */
    font-size: 18px; /* Change the font size */
    font-family: Georgia, 'Times New Roman', Times, serif; /* Change the font */
    line-height: 1.5; /* Adjust the line spacing */
    background-color: #a8620e; /* Change the background color */
    padding: 10px; /* Add some padding */

}
By editing the style.css file, you can apply any style you want and completely change the look of your site. This is just an example, and you can customize other elements and properties as needed to match your desired design.


Enhancing Functionality in Your Child Theme
You need to edit the functions.php file in your child theme to enhance or add new functionality to your website.
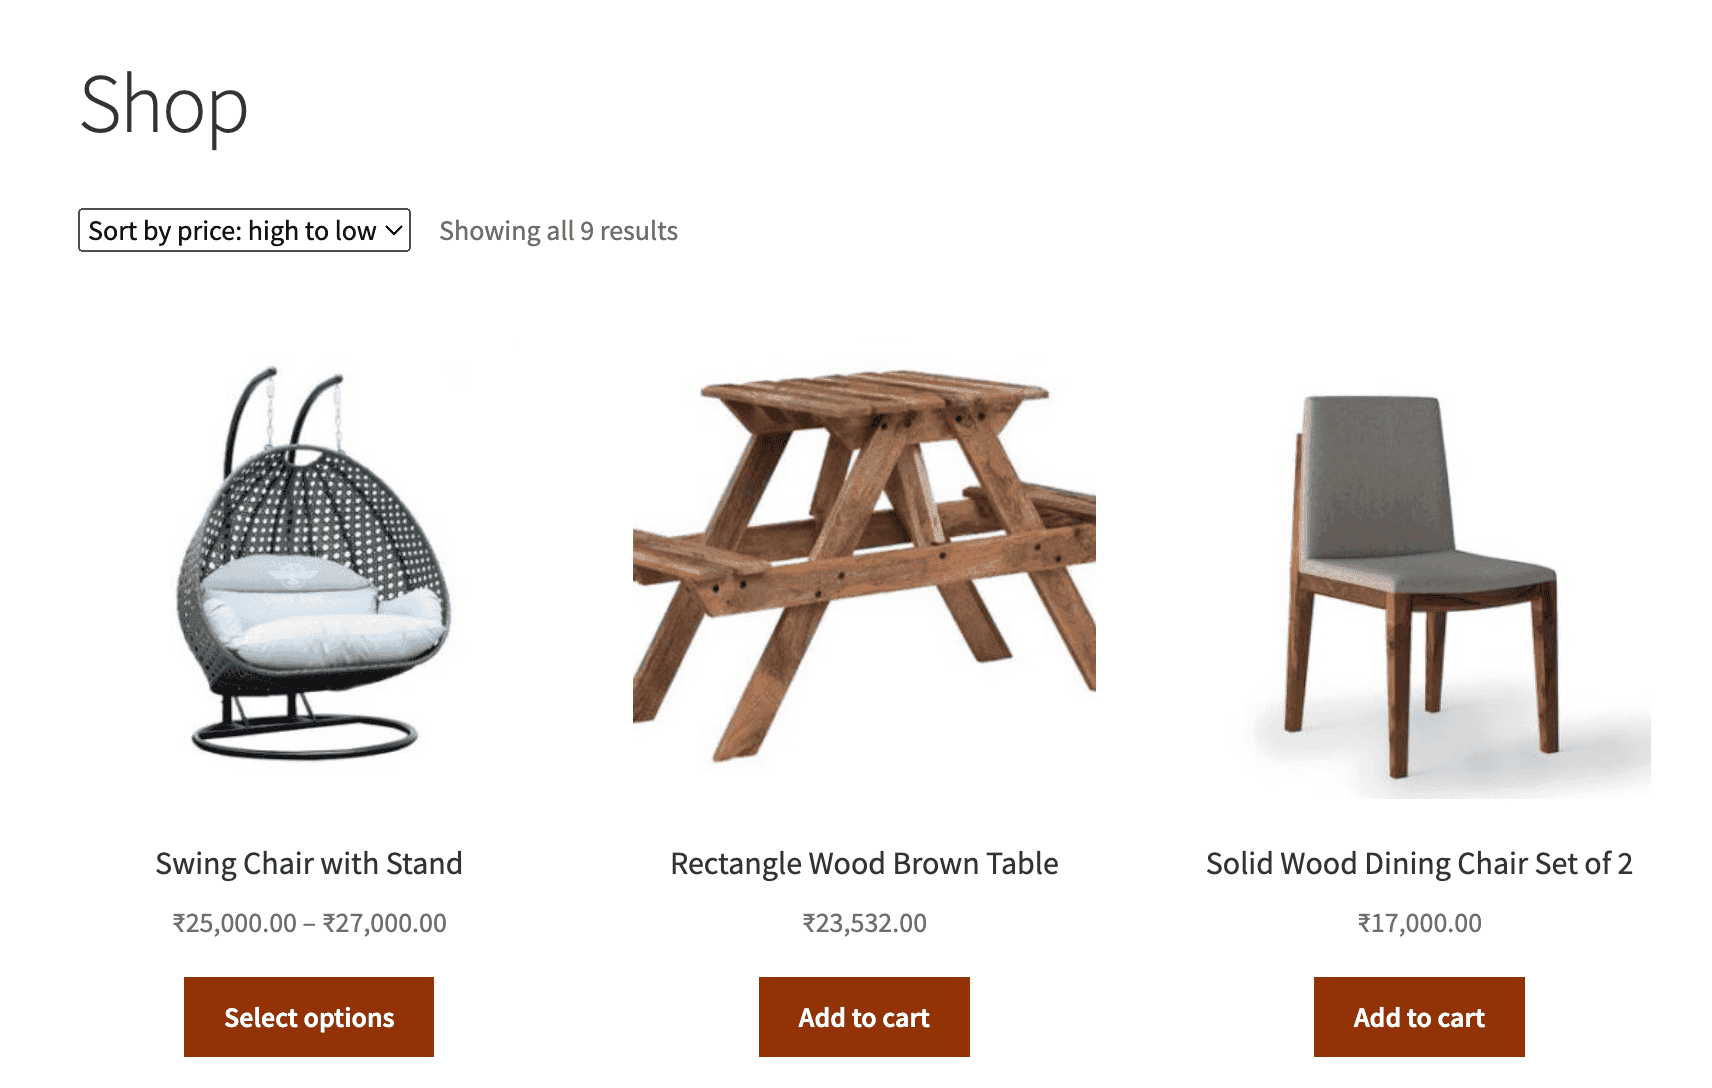
For example, if you want to change the text of the “Add to Cart” button on the archive page, you can do this by adding some code to your functions.php . Below is the code you need to add to customize the button text.
<?php
/* Customize Add to Cart Button Text on Archive Page */
 add_filter('woocommerce_product_add_to_cart_text', 'customize_cart_button_text_archive');
 function customize_cart_button_text_archive() {
	 return __('Buy Now', 'woocommerce'); // Add to Cart Button Text for archive page
 }
?>
After adding the code, the Add to Cart button text changes to “Buy Now.”


FAQs on Creating WordPress Child Theme
Will my changes be lost if I update the parent theme?
No, your changes won’t be lost. When you use a child theme, all your customizations are saved in the child theme, not the parent theme. It means you can update your parent theme without affecting your custom work.
Can I make changes to the parent theme’s files if I’m using a child theme?
When you’re using a child theme, it’s best to avoid making changes directly to the parent theme’s files. Instead, use the child theme to apply your customizations. This way, your changes are kept separate and won’t be affected by future updates to the parent theme.
Do I need coding skills to create a child theme?
You don’t need advanced coding skills to create a child theme. Basic HTML, CSS, and PHP knowledge is helpful, but there are many plugins that can help you create a child theme without coding.
Is it possible to use a child theme with any WordPress theme?
Yes, you can create a child theme for any WordPress theme. Just be sure to include the correct parent theme’s folder name in the style.css file of your child theme. This way, WordPress will know which parent theme your child theme is based on.
Can I use my child theme on other websites?
Yes, you can use your child theme on other websites that use the same parent theme. When you manage several sites with similar designs, reusing your child theme saves time and effort.
To do this, follow these steps:
- Right-click on the folder you created for the child theme.
- Select the “Compress ‘theme-name'” option to compress the file in zip format.
- After compressing the file, upload it to your WordPress site by going to Appearance ➝ Themes ➝ Add New ➝ Upload Theme. Select your zip file for the child theme and install it.

If you’re using Bricks Builder, you can also create a child theme to improve your website. Check out our detailed article on how to create a child theme in Bricks Builder.
Start Making and Personalizing Your Child Theme
Creating and using a child theme in WordPress is a great way to personalize and enhance your website while keeping the original theme intact. By following the steps discussed in this article, you can safely make changes to your site without risking the loss of your customizations during theme updates.
You learned how to set up a child theme by creating the necessary folders and files. We also covered installing and activating your child theme and customizing its style and functionality.


