If you are familiar with WooCommerce, you know that product categories play an essential role in organizing your products for proper display and access by customers – the more they can find what they are looking for quickly, the better!
Customers spend a lot of their time browsing your products on your shop page, so it’s important to make sure that the experience is perfect. There’s nothing worse than trying to navigate through dozens of pages browsing products on your shop page.
Therefore to give your customers a better shopping experience – this is where categorization comes into play. A well-arranged and organized section for all sorts of items like clothing or shoes will facilitate customers to sort and filter out their preferences. You could customize this section by adding lead generation elements such as call-to-action buttons, featured product sections, pop-ups for sales or offers, etc.
If you run a WooCommerce store and want to give it a makeover then this tutorial is exactly what you need.
Many WooCommerce themes come with a default layout for Product Categories that sometimes may not be the best fit. These defaults might have some great features, but they often lack customization options.
Let’s have a look at how WooCommerce Product Archive looks in one of the famous and my favorite theme – GeneratePress.
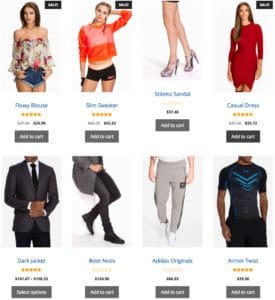
It is not that bad, but also not so good to be delivered to a client 🙂
Save your time by utilizing the Frontend Product Editor Plugin to effortlessly edit your product details directly from the frontend.
What about if I tell you that at the end of this tutorial, you will be able to create and style the Category Archive layout completely as you wish?
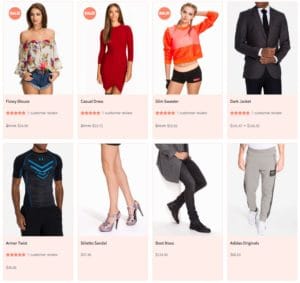
For creating your very own Product Category Archive Template, we will be using a plugin called AnyWhere Elementor Pro.
So let’s start with the process. Here is the list of tasks that we will be going through while designing WooCommerce Category Archive layouts.
- Create a Block Layout – A layout that will define how an individual product item will look in the Product Grid.
- Designing Template for the Category Archive – This will be the main layout to take over the theme’s layout.
Step 1: Create a Block Layout
- Create a new AE Template – Go to AE Template -> Add New
- Give an appropriate title to that template and do the following configurations under AnyWhere Elementor Settings.
- Render Mode: Block Layout
- Preview Post: Select a product by typing its title here. (This product will be used to show preview data while designing in Elementor editor.)

- Now save the template and hit Edit with Elementor to open it in Elementor editor.
- Once you are in Elementor editor, look at the widget area under Category “AE Template Elements.” You can find a lot of widgets there. There are also a lot of WooCommerce specific widgets (prefixed with AE – Woo).
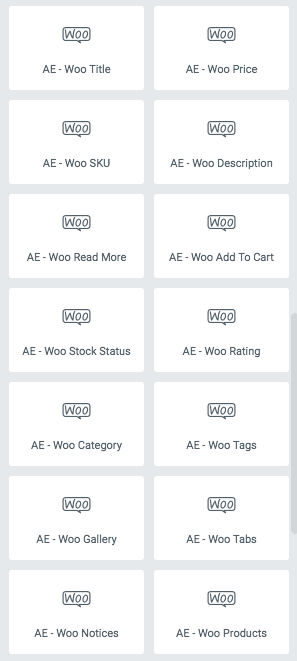
You can use them to design the layout of individual Products, like AE – Woo Gallery, AE – Woo Title, AE – Woo Rating, and AE – Woo Price.
After this, we are ready with the Block Layout. Time to move ahead and design Product Category Archive layout.
Pro Tip: Make sure to design the complete block layout in a Single Parent Section. You can use the inner section widget if required.
Step 2: Designing Layout for WooCommerce Product Categories
- Create a new AE Template. Go to AE Templates -> Add New.
- Give it an appropriate title and do the following configurations under AnyWhere Elementor Settings.
- Render Mode: Taxonomy Archive Template
- Taxonomy: Product Category
- Preview Term: Select Product Category by typing its name here.
- Auto Apply: Check this option if you want this layout to be applied to overall product categories. (You can override it by settings a different template for each category.)
- Template: Select how you want it to work. The default will load the theme’s layout. It might have many unnecessary elements. The best way is to use the Elementor Full Width. You can also use Elementor Canvas if you are also designing the header part in the same template.
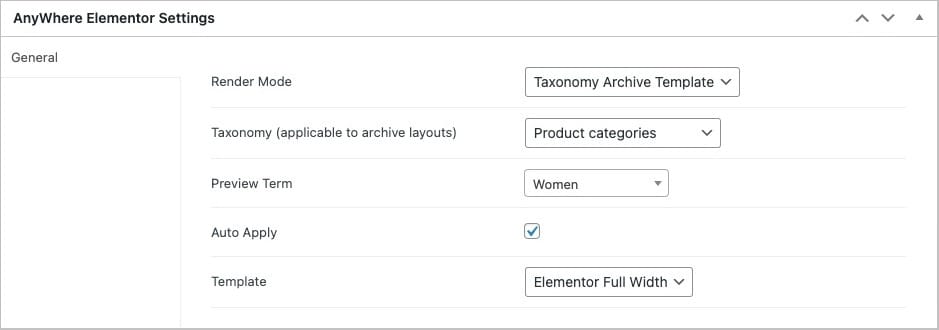
- Save the template and click on Edit with Elementor to open Elementor Editor.
- Now the most important part is to display the product collection. For this, you will have to use the AE – Post Blocks Adv widget.
- Drag the Post Blocks Adv widget at the desired location in your layout.
- In Post Blocks Adv, widget do the following configuration
- Layout: Select the layout style to display the products like carousel, grid, or accordion
- Template: Select the Block layout we have just created above.
- Under the Query settings, select Source: Current Archive (To display product only from the current category)
- There are many more controls and features which you can configure accordingly to design the page.
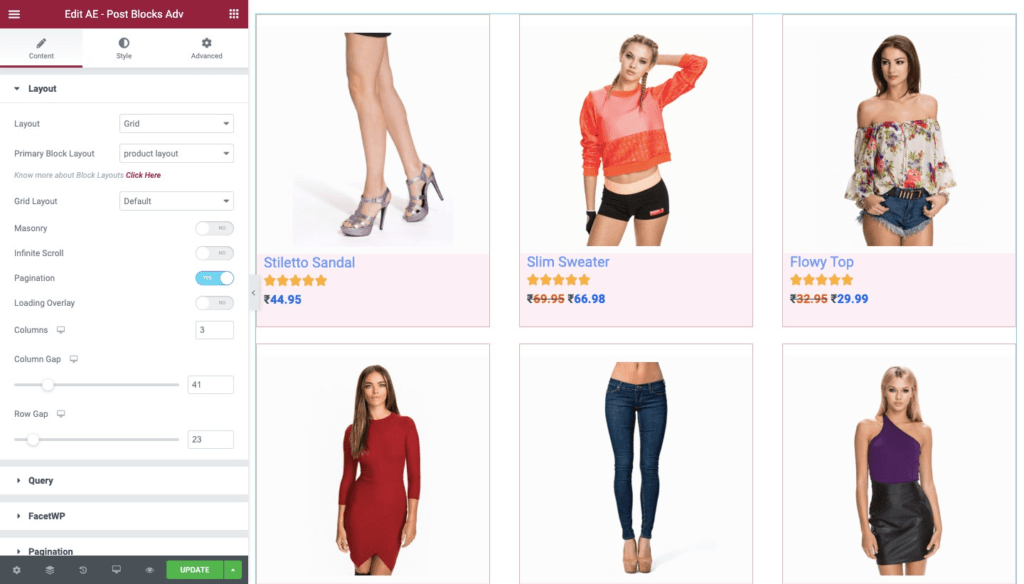
- You can notice that this Block layout is now used to render the layout of each product.
- You can adjust the rest of the settings as per your requirement, like the number of columns, styles, etc.
- That’s it. Now view your Product Category on the frontend, and you will see your new layout.


